
Hello, and welcome to my first real DIY Post. Also, this is the first time that I am showing you my Powder Room. I am always posting pictures of my family in my home and #keepinitreal, but this room has remained under wraps. I am sure you can imagine why.
Oh yeah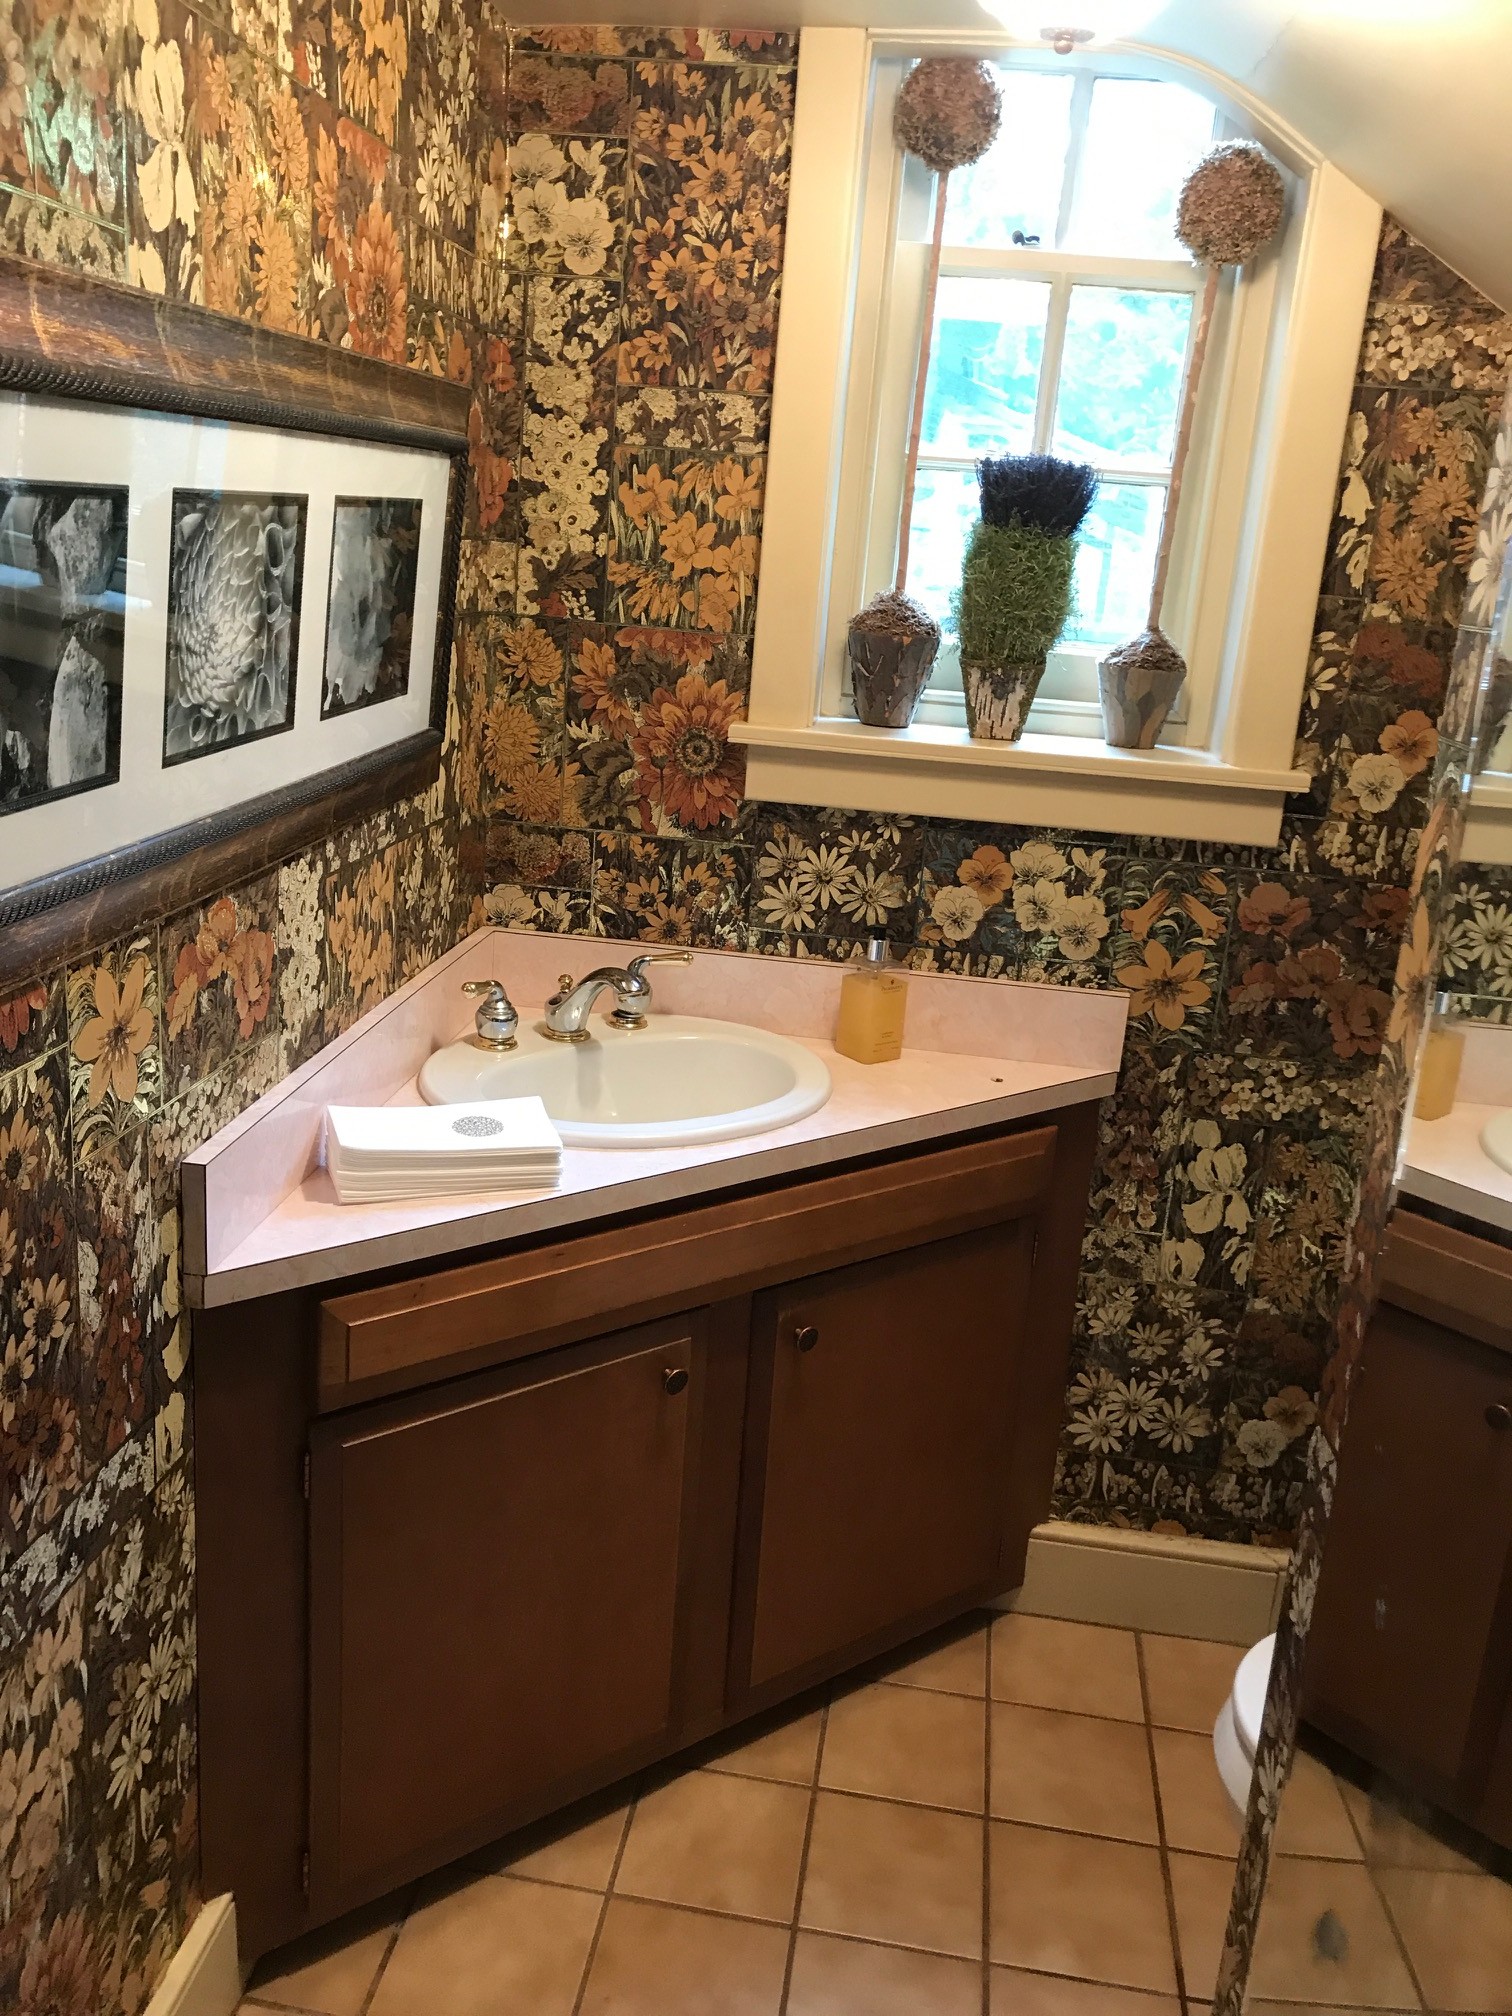
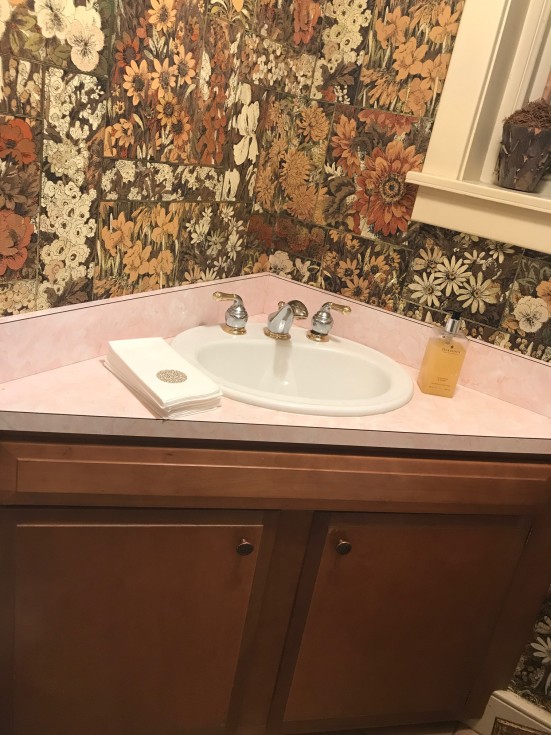
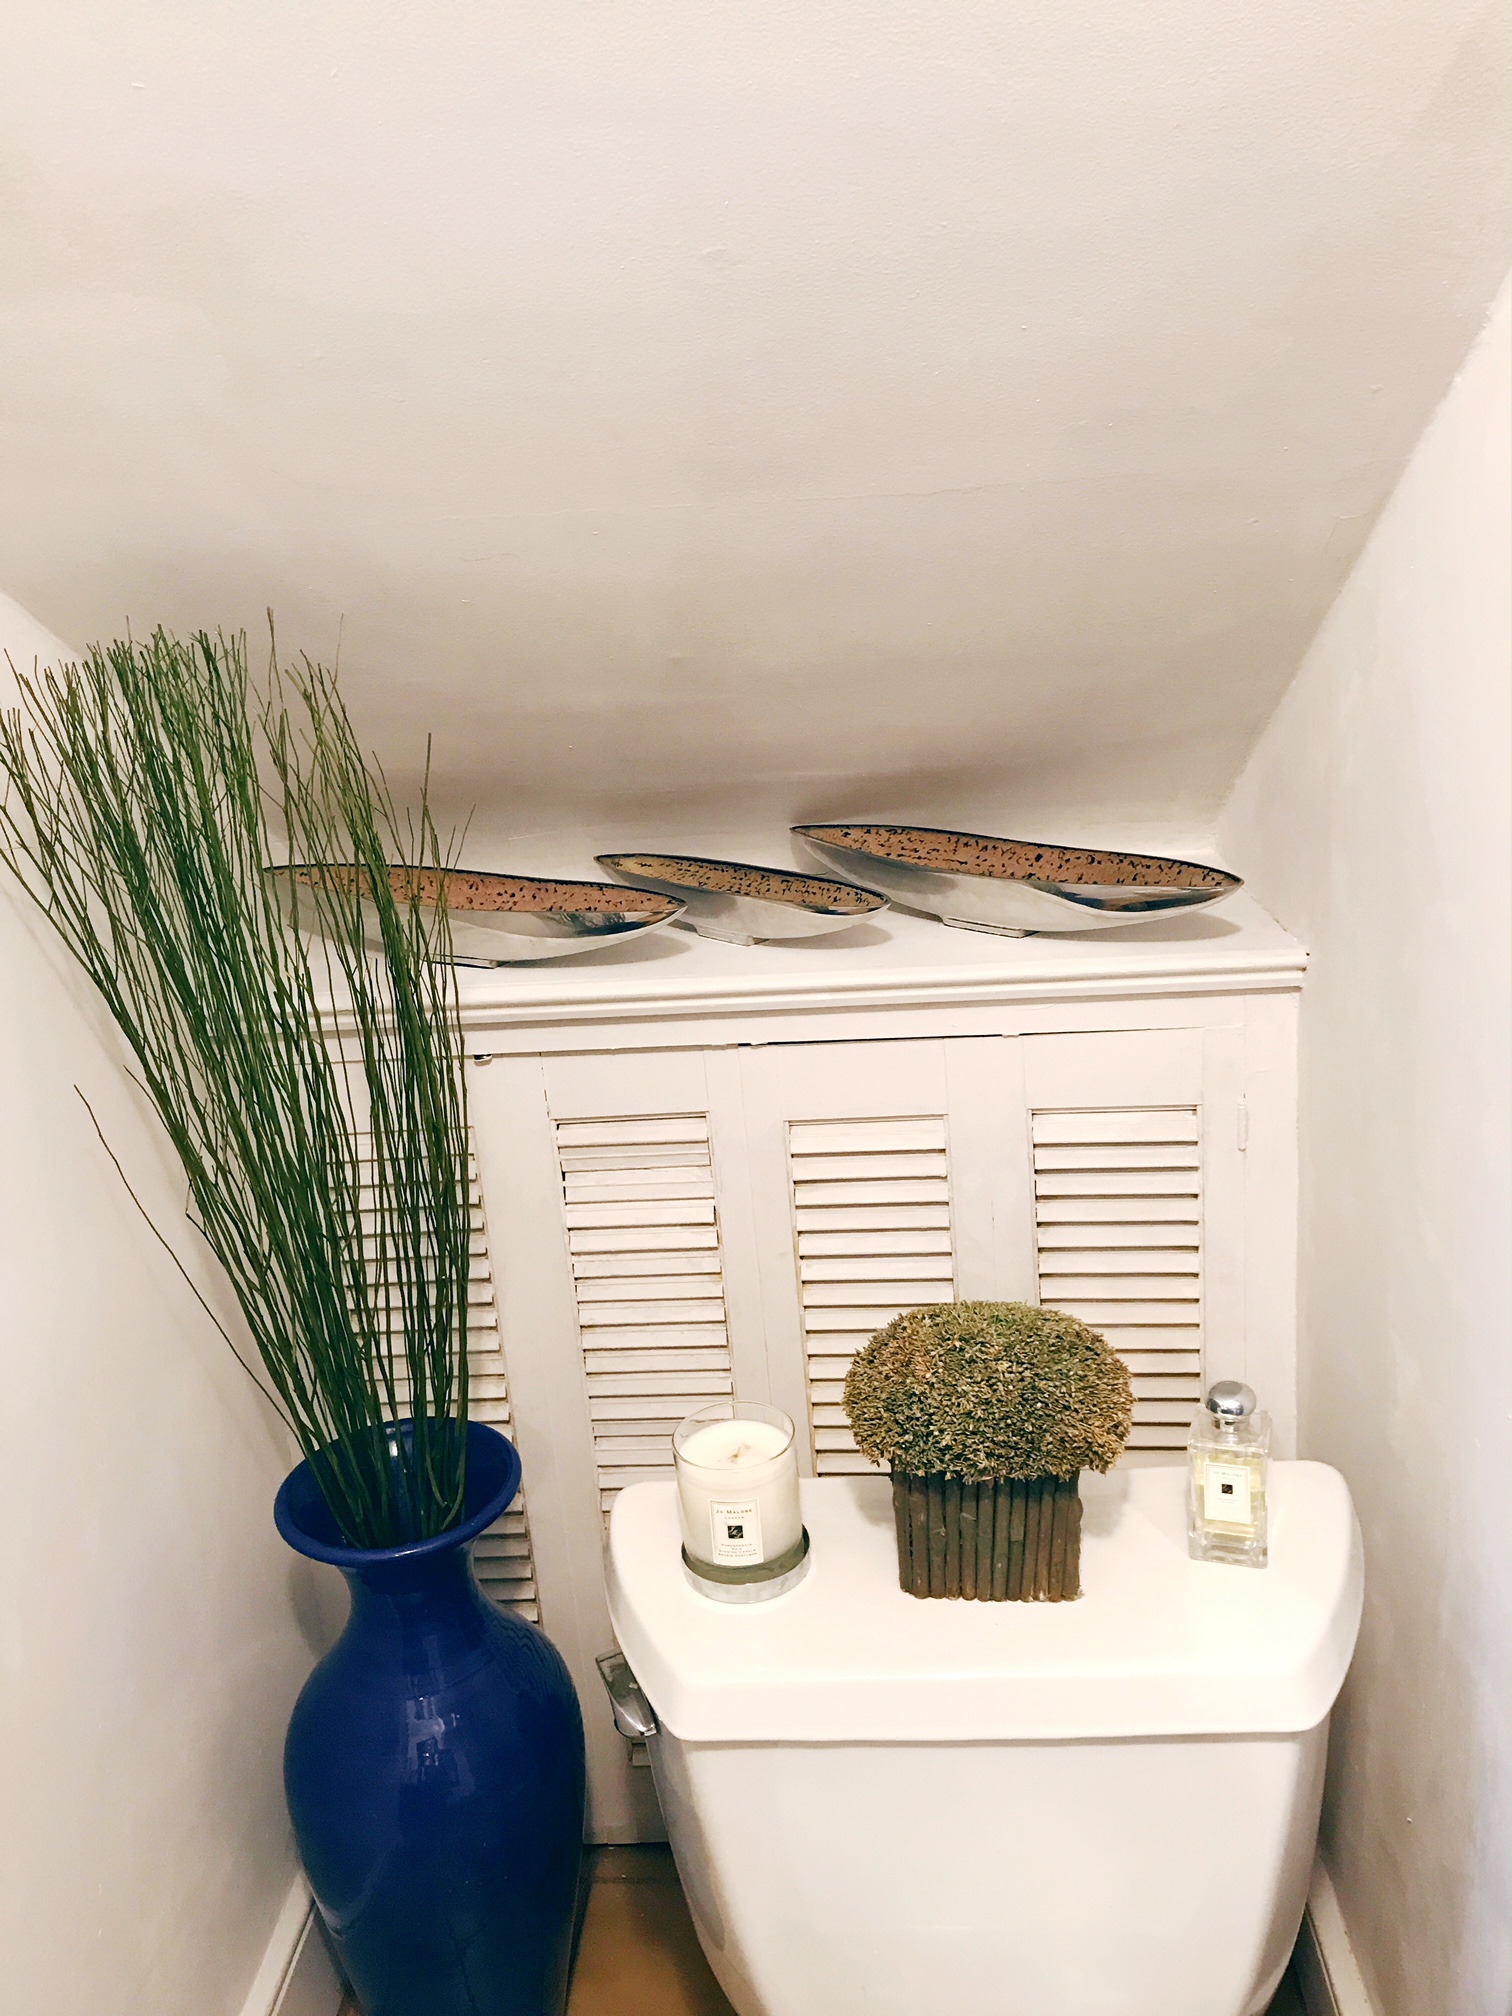
A little closer, please.  Cardinal Rule #1 of showing bathroom photos: DO NOT SHOW TOILET
(Not only did I show the toilet, but it is open. I RULE!) What’s that? You didn’t see the mylar closely enough?
It’s my pleasure to assist you.
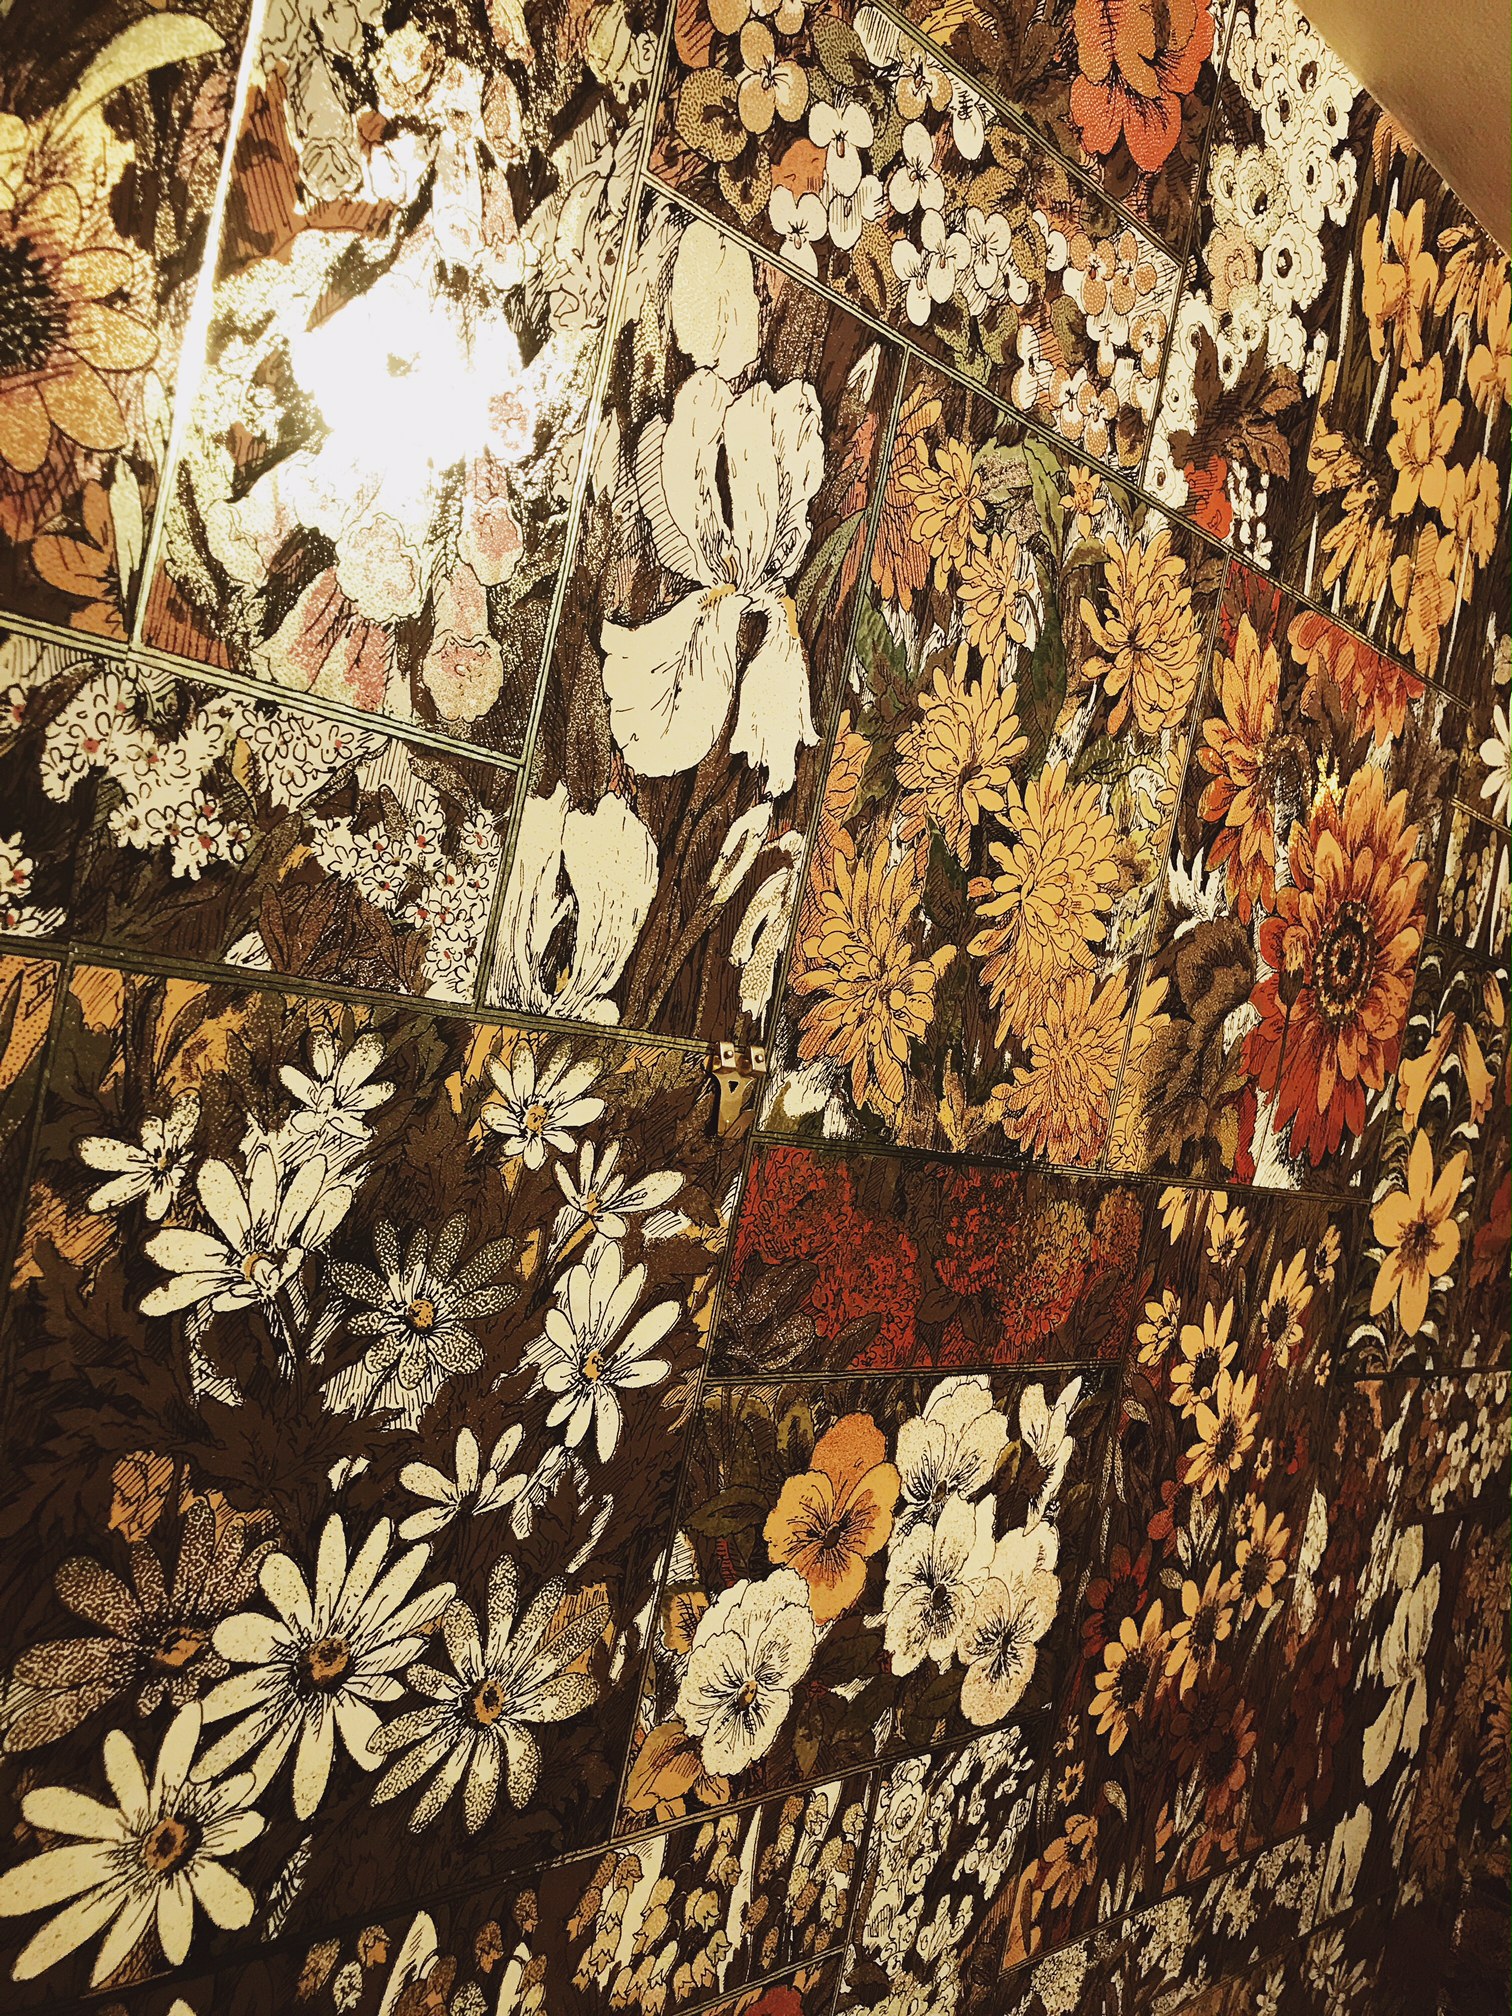
And so, although it is shiny and trippy and amazing, it is also dark and dated and not-always-amazing.
On Friday evening, while my daughter slept at a friend’s house and my son was in his bed I decided to tear at a little corner of the wallpaper. And then I kept tearing. And then…
I decided that I would engage in my first ever REAL home DIY project.
I would do a DIY Powder Room.
(Note: I know that calling something a “DIY” room doesn’t actually make sense with the acronym, but I feel like “DIY” gets thrown around enough that you get what I mean, right? If not, I mean that I am rolling up my sleeves and doing a project myself. Getting dirty. Not calling in Paul the Painter for reinforcement. Yet.)
 I know that I mention my Instagram page a lot, but that is because I am active on it every day. And now that I have figured out “Insta Stories”, I post things in real time, with a lack of permanency and less of a filter. Like when my vintage lucite ghost chairs arrived and I had a chair crisis and completely rearranged my living room in one evening. Remember that? See? You don’t. Because it was on Insta stories, in a multi-part video, but it disappeared after 24 hours. Another thing that is going on in my house is that I am working on my entrance hallway (yes, the one over which I obsessed for ages) and after the lucite chairs arrived I realized that it needed to be more monochromatic (or tri-chromatic?) and simple and so out went the pastel and in went the gray/gold/white. I am having a runner installed on the stairs and the creamy molding (that is now half done) will ALL be painted true Decorator’s White.
But, back to the room at hand.
If you listened to my most recent podcast you’ll know that I have only done one “major” DIY project before. Yes, I enjoy crafts and have put together my fair share of party decorations, ghost-shaped sandwiches and picture frame magazine cut out things over the years, but this was an entire room. And involved multiple steps. And my first DIY room project did not go so well. It was 2008 and we had just closed on our first house. We had no kids at the time, and so the small third bedroom was used as my closet/dressing room of sorts. It had yellow walls and a pale green carpet so OBVIOUSLY I HAD to paint the prominent accent wall an incredibly bright shade of magenta. Hot pink. And I messed it up so badly that my dad showed up at 6am the next morning to fix it for me, because it was our actual home that we owned and it was an embarrassment and he is a superhero.
I have not been allowed to do anything like that ever since.
Until Friday night. That is when I decided that the DIY Powder Room project was going to be taken on, and I thought, “Hey, if I mess up, this is just a temporary fix anyway. And I can always call Paul.”
Before I continue, let me preface the rest of this post by saying that I am NOT THAT kind of lifestyle blogger. You know, the kind that sees a project on Pinterest, does it, and it comes out looking even better than the original. I am not my friend Jordan over at Ramshackle Glam who took the poles at the front of her house from boring to RECLAIMED BARNWOOD USING JUST PAINT (and like 8 zillion other steps that made me exhausted just reading them).
I am a lifestyle blogger who always leans on the side of “mommy blogger”; I write about wellness, but not as an expert; I was all about “dry shampoo” before it became a thing; I am just lazy. So, if you are looking at this as a “How-To” guide, unless your aim is to do a quick (albeit dramatic) fix in a not-so-skilled way, then take this for what it is: a look into my life and something for which I am proud.
Anyway,
I had a few goals in mind for this project and I was determined to stick to them:
1. I wanted it to be as inexpensive as possible. To accomplish that I would use the extra paint left over from old jobs in my home and shop wisely at the home supply store.
2. I wanted it to be as easy as possible. I WANTED to be lazy. I read many articles on how to strip wallpaper. Some people suggest steaming. Others suggest scoring. Others suggest spraying with everything from special wallpaper spray to white vinegar to plain water. I did not want to do any of this.
3. I wanted this to be a short term fix, as I plan to ultimately redo this bathroom professionally.
But here is the thing about my house. The reason why I have not posted a lot of “before and after” photos like I did over at 511, Ever After is because I have a tremendous amount of respect for this old house and its former owners. So much so that I (weirdly) have not even taken down the sign with their family’s name on it that is stuck prominently to the front of one of the brick pillars at the top of my driveway, which causes a lot of confusion for people. The woman from whom we bought the house had lived here for 50 years and was so scared that a family would come in and gut it (because despite its amazing bones, it was/is aesthetically outdated in some ways). Before she accepted our offer on this house, I promised her that I would honor the home, as I treasured all of the amazing things that make it so special, like the incredibly thick molding, intricate carved wall in the living room, Pennsylvania Blue Marble around the fireplace, Butler’s Pantry, pegboard wood floors and so much more. Also, I am not in a position to gut a house if I wanted to. Since moving in I have made some aesthetic changes (like paint and light fixtures) and these changes and my decor have made it look like a different house, in many ways. But I have respect for this 100+ year old home and all of its owners before us. Even though they painted our kitchen pistachio.
Someday, I will post some of the Before/After photos, as they are pretty amazing, but, for now, I am sticking to the powder room.
In order to accomplish my goals, I woke up Saturday morning and took my family on an outing to Lowes. There, I talked to the people in the paint department and told them that I needed:
Something to cover up walls that may still have some wallpaper stuck to them
Something to paint over a wood vanity
Something to paint the pink laminate countertop.
Now, if you know me, choosing colors is not an easy process. When I go for a manicure it takes me a half hour to decide on a color (that I will eventually change my mind about) and so imagine the perseveration over actual paint colors. But, here I was very definitive. We would be doing the walls and trim white. He showed me a paint that covers laminate and all of the colors that it can be dyed, but I decided to leave that white, as well.
My husband suggested that I go for an all white vanity, to keep things as bright as possible, but here is where I went with my gut. I chose a color that was in the gray section but really has deep navy undertones and can even look black from far away. I am so glad that I did.
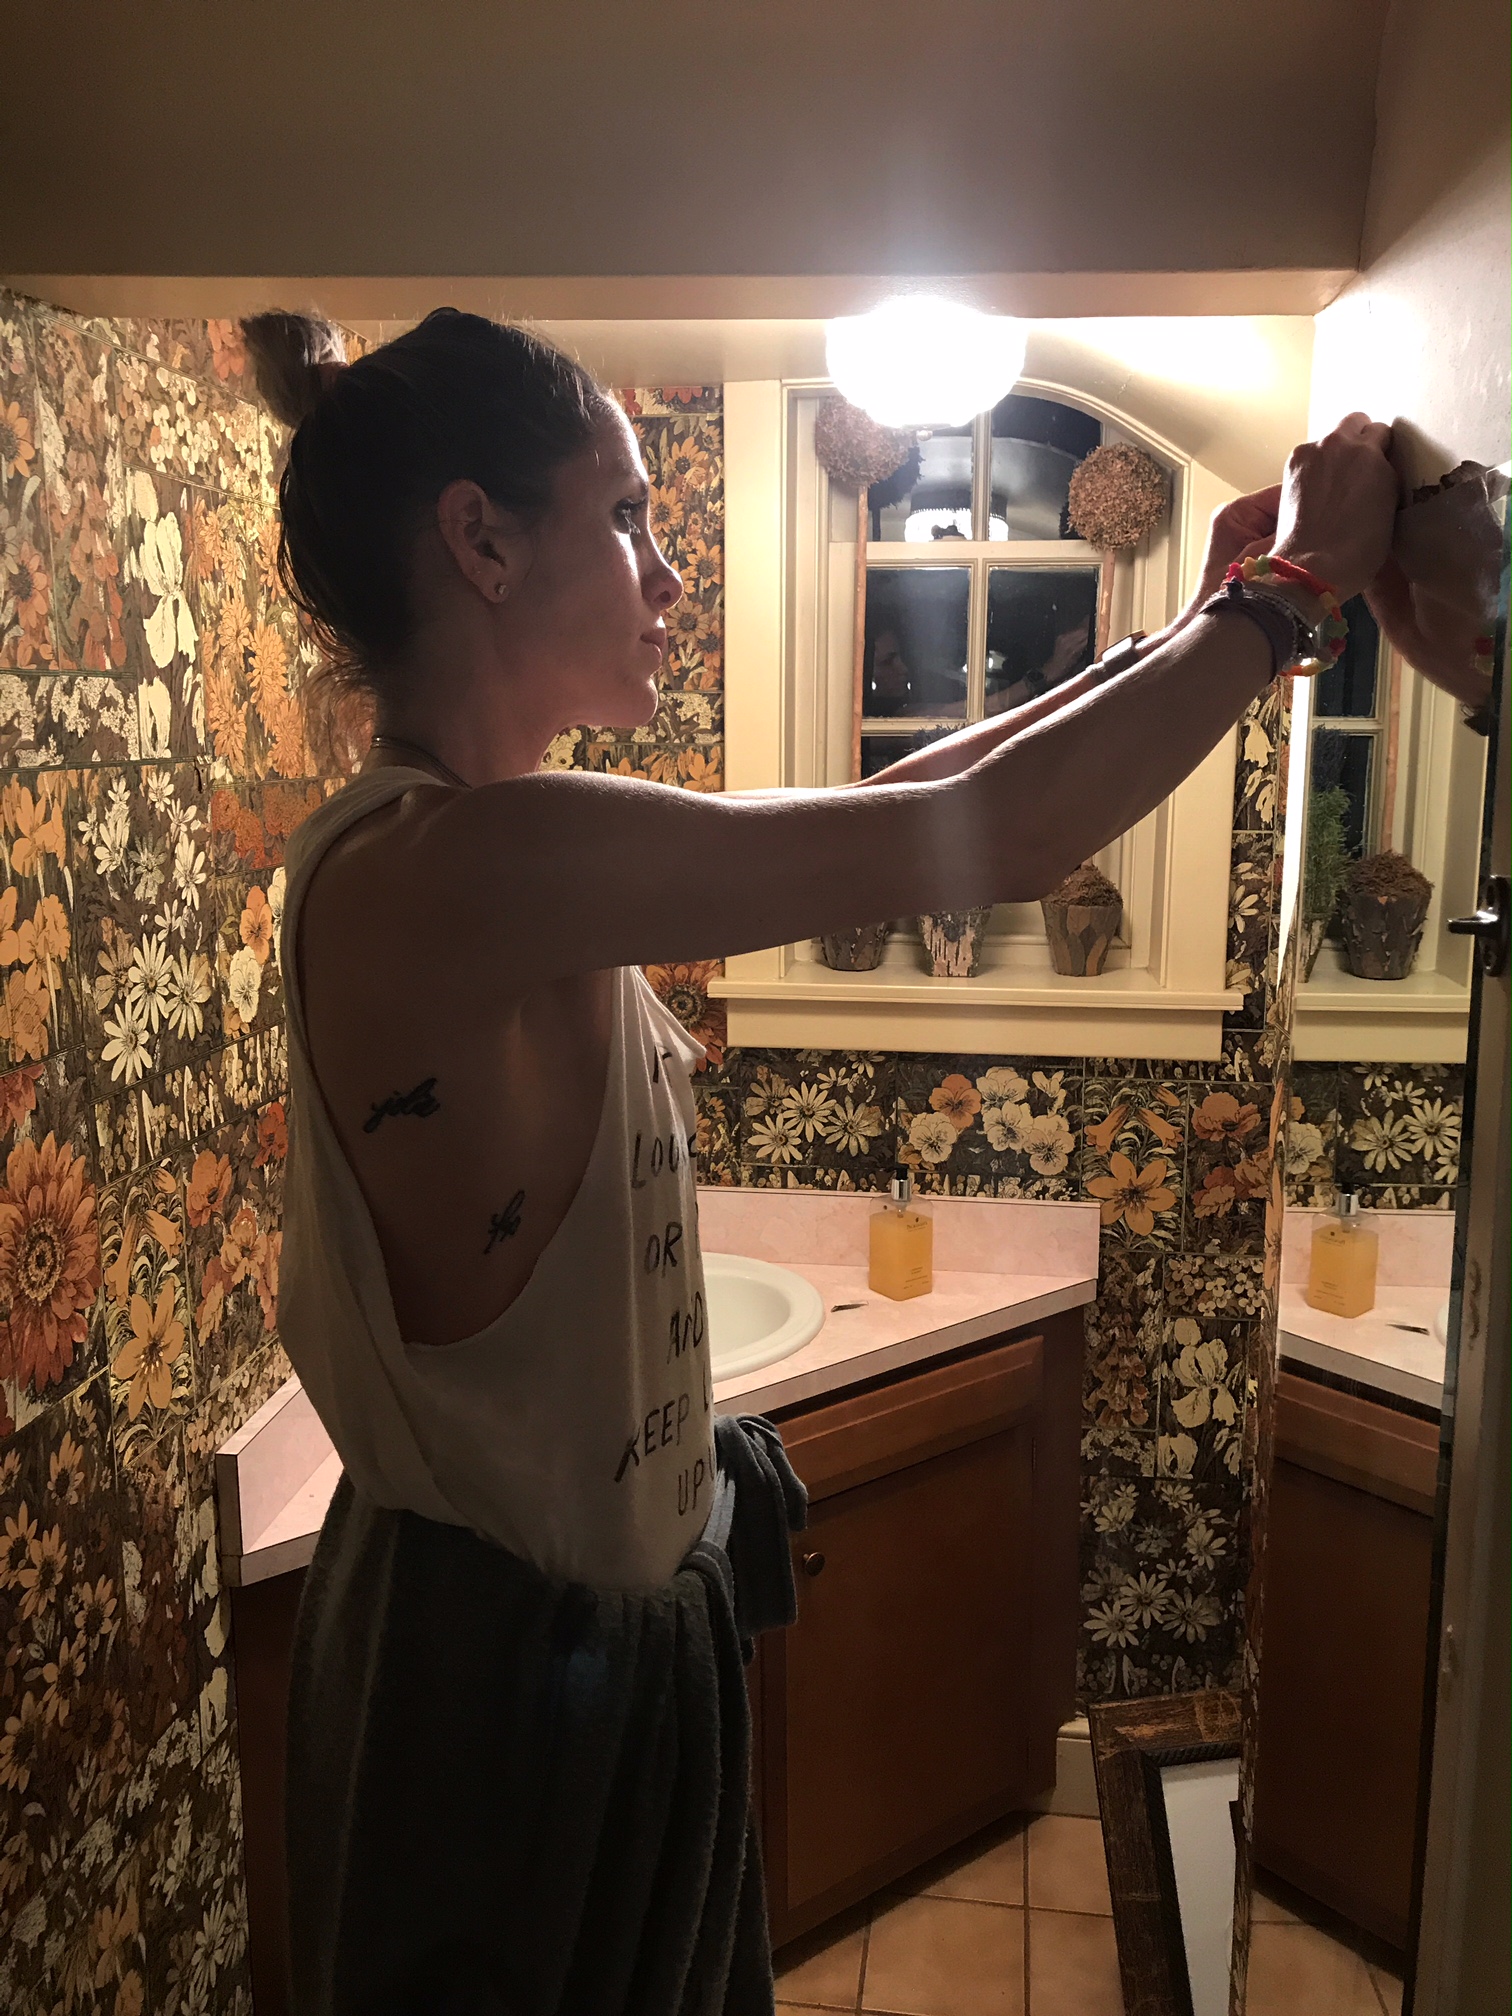
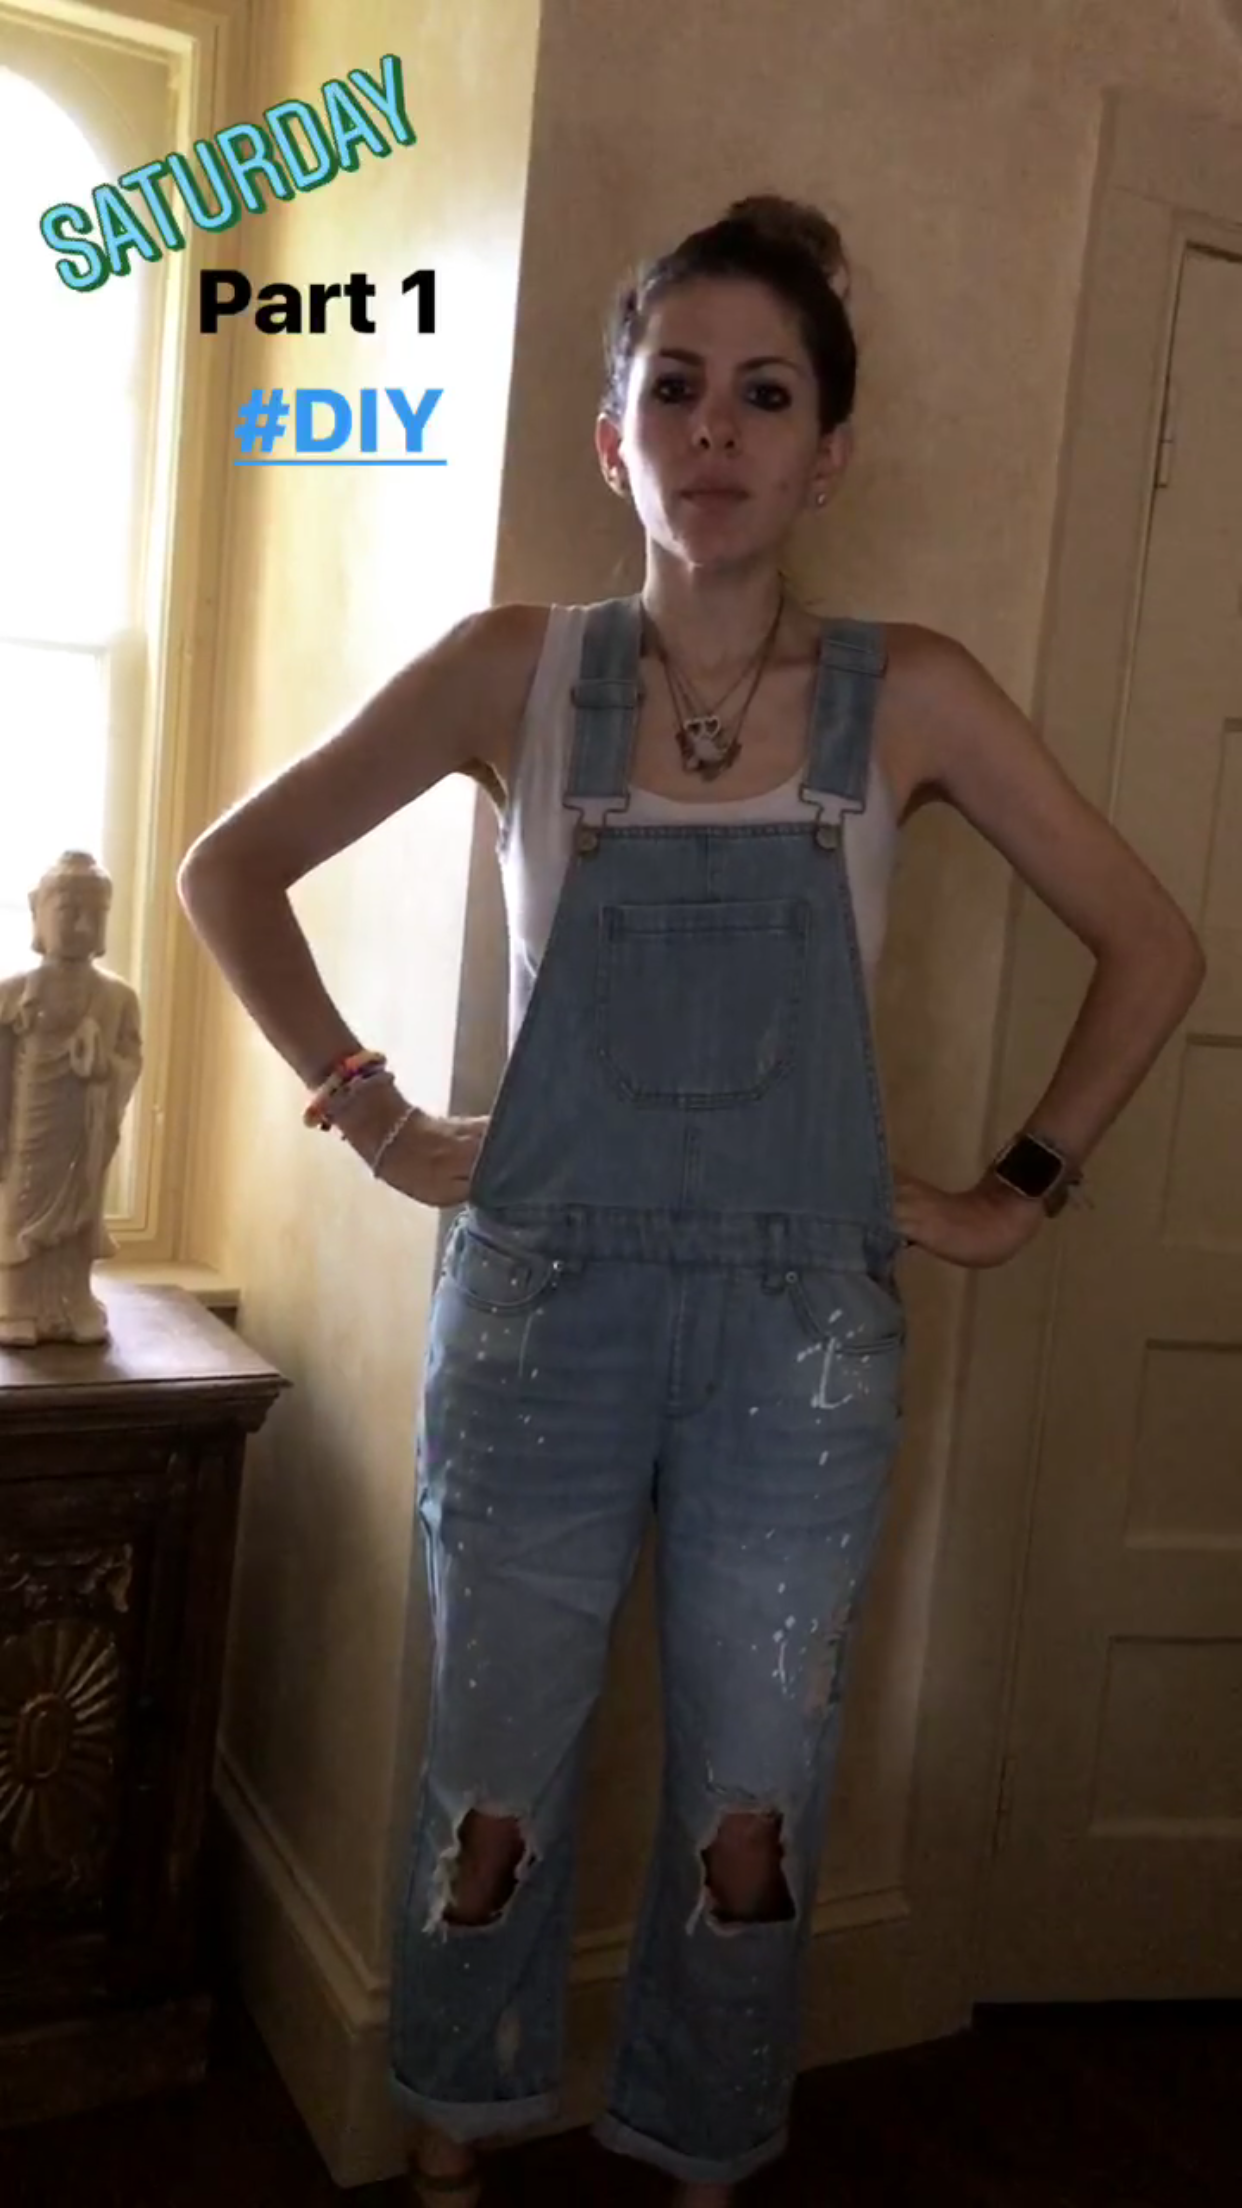
Back at home, I decided to go through the process as thoroughly as my laziness would allow. And, I dressed the part.

First, I sanded the walls, both with a hand sander and a sanding sponge. So you know that I am now super serious about DIY-ing, I used 120 grit on the walls and 180 grit on the countertop and wood vanity in order to help the paint to adhere.
The next step was supposed to be priming the walls. I had spoken with a very kind gentleman at the paint counter about a primer and basically asked, “What is the best primer I can use so that I can cover up walls that won’t be perfectly sanded and may have seams and can allow me to only do one coat of paint?”
He seemed to speak my language and went to mix my special primer as I got distracted by the candy at the checkout aisle. I bought all of my tools (masks, brushes, trays) and also found some Reeses Cups, CheezIts and a Ring Pop and went on my merry way…without the primer. I still feel so guilty about this!
Without the primer, I started to paint. Because going back for the primer would violate at least 2 of the goals/rules above and I just wanted to do it.
I painted the walls with one coat, and then the wood of the vanity. 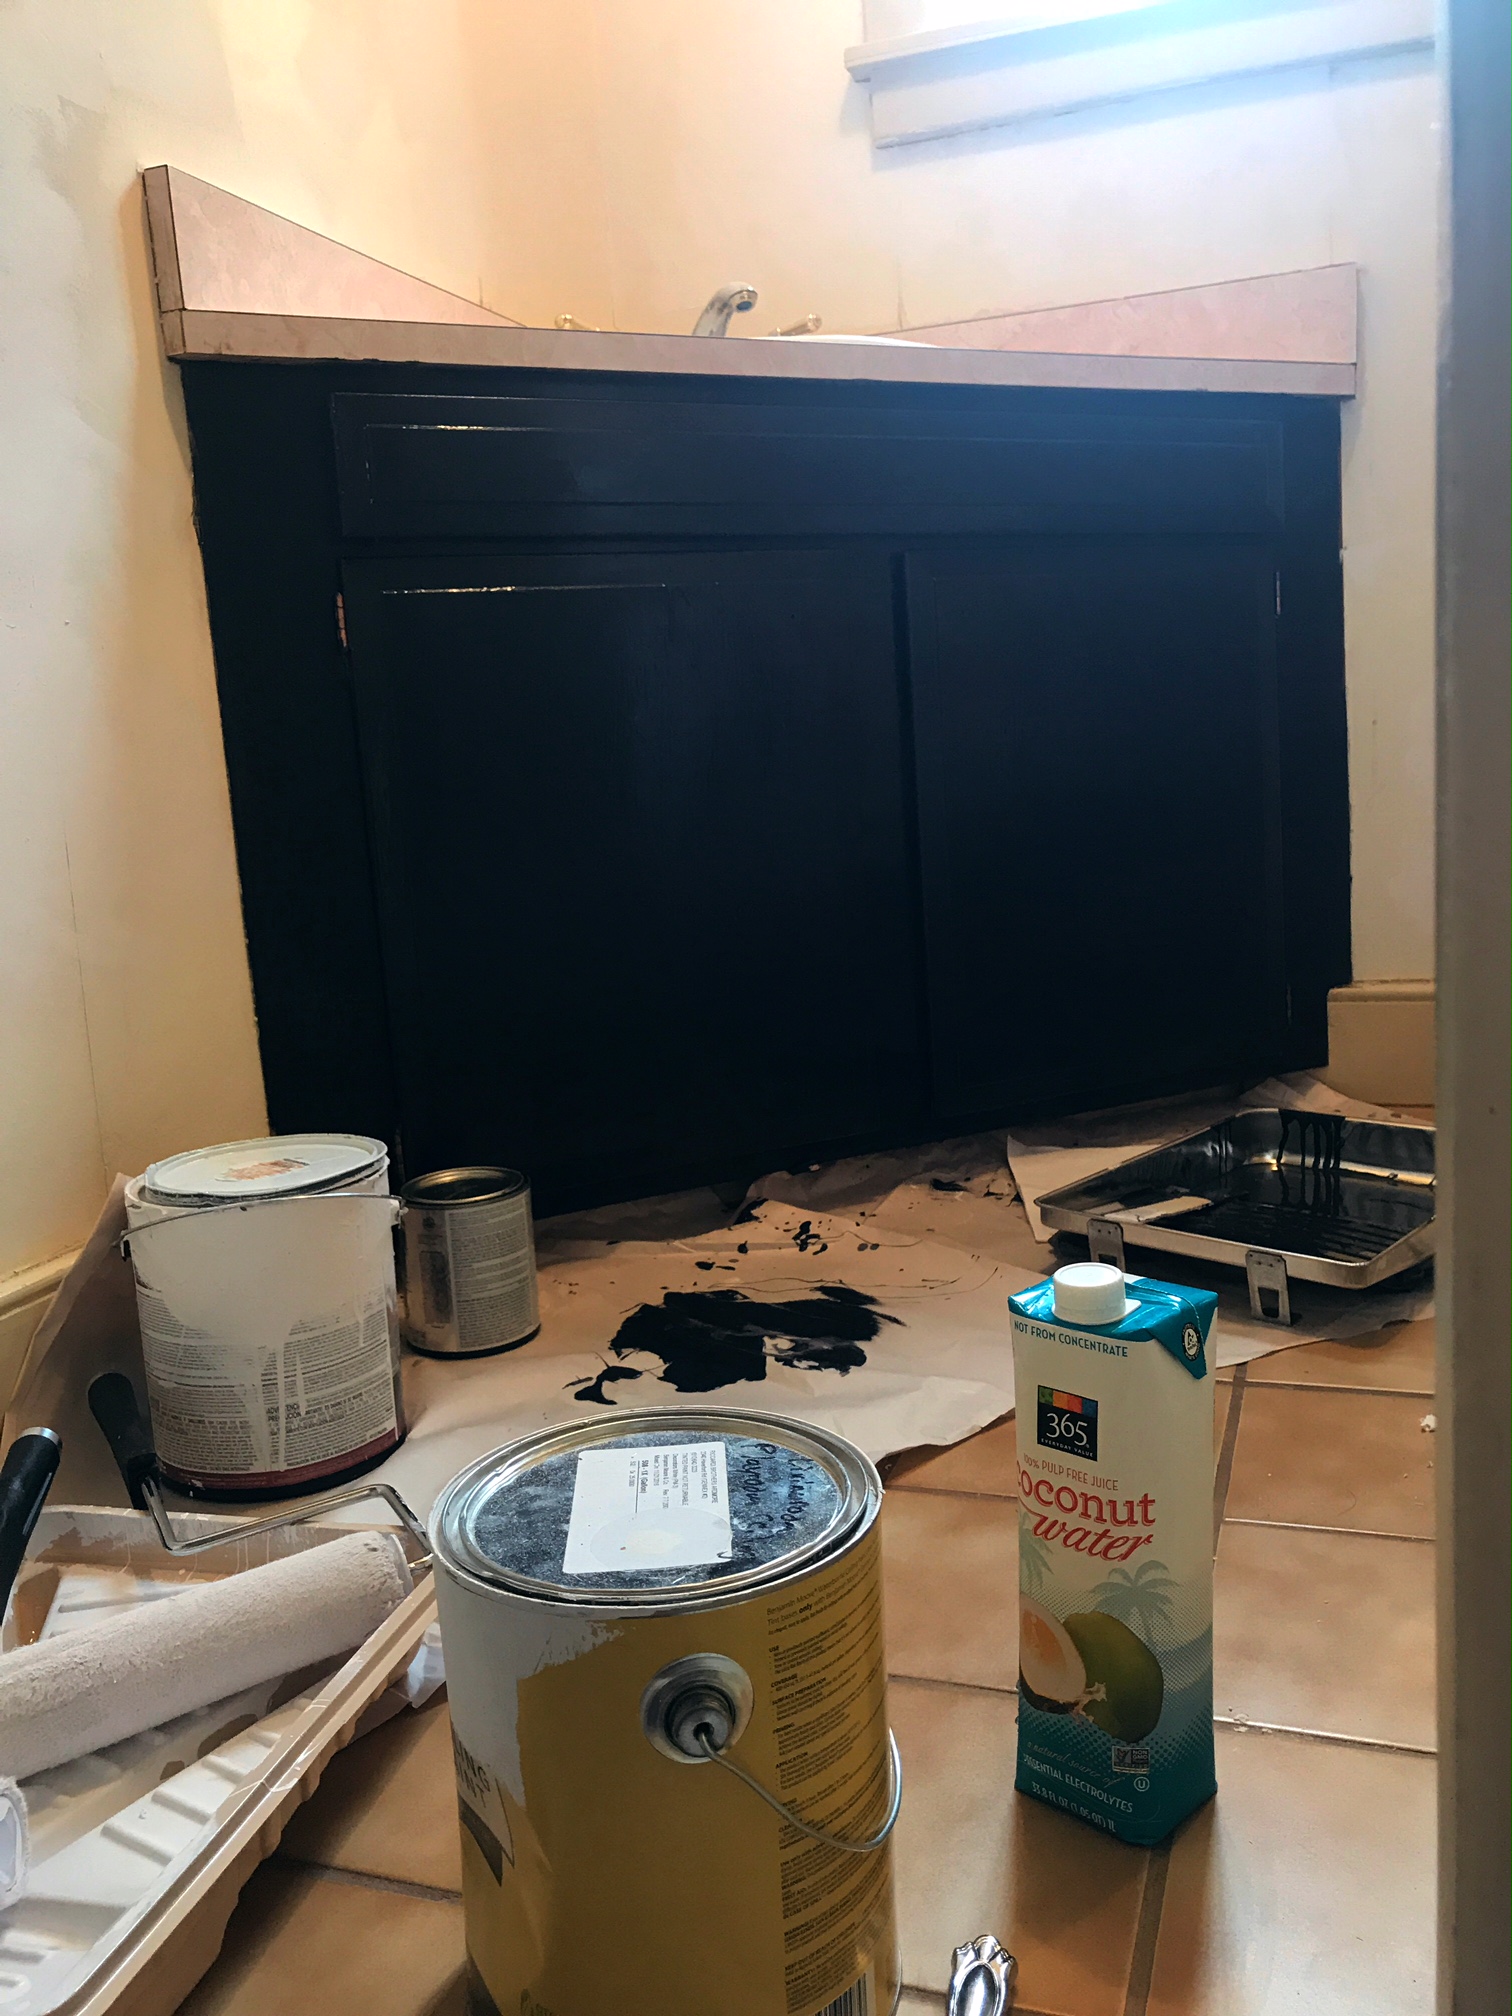
 Something that I learned about painting is that when you think that you’ve gotten to every spot and you take a step back and look around, there will ALWAYS be more spots to cover.

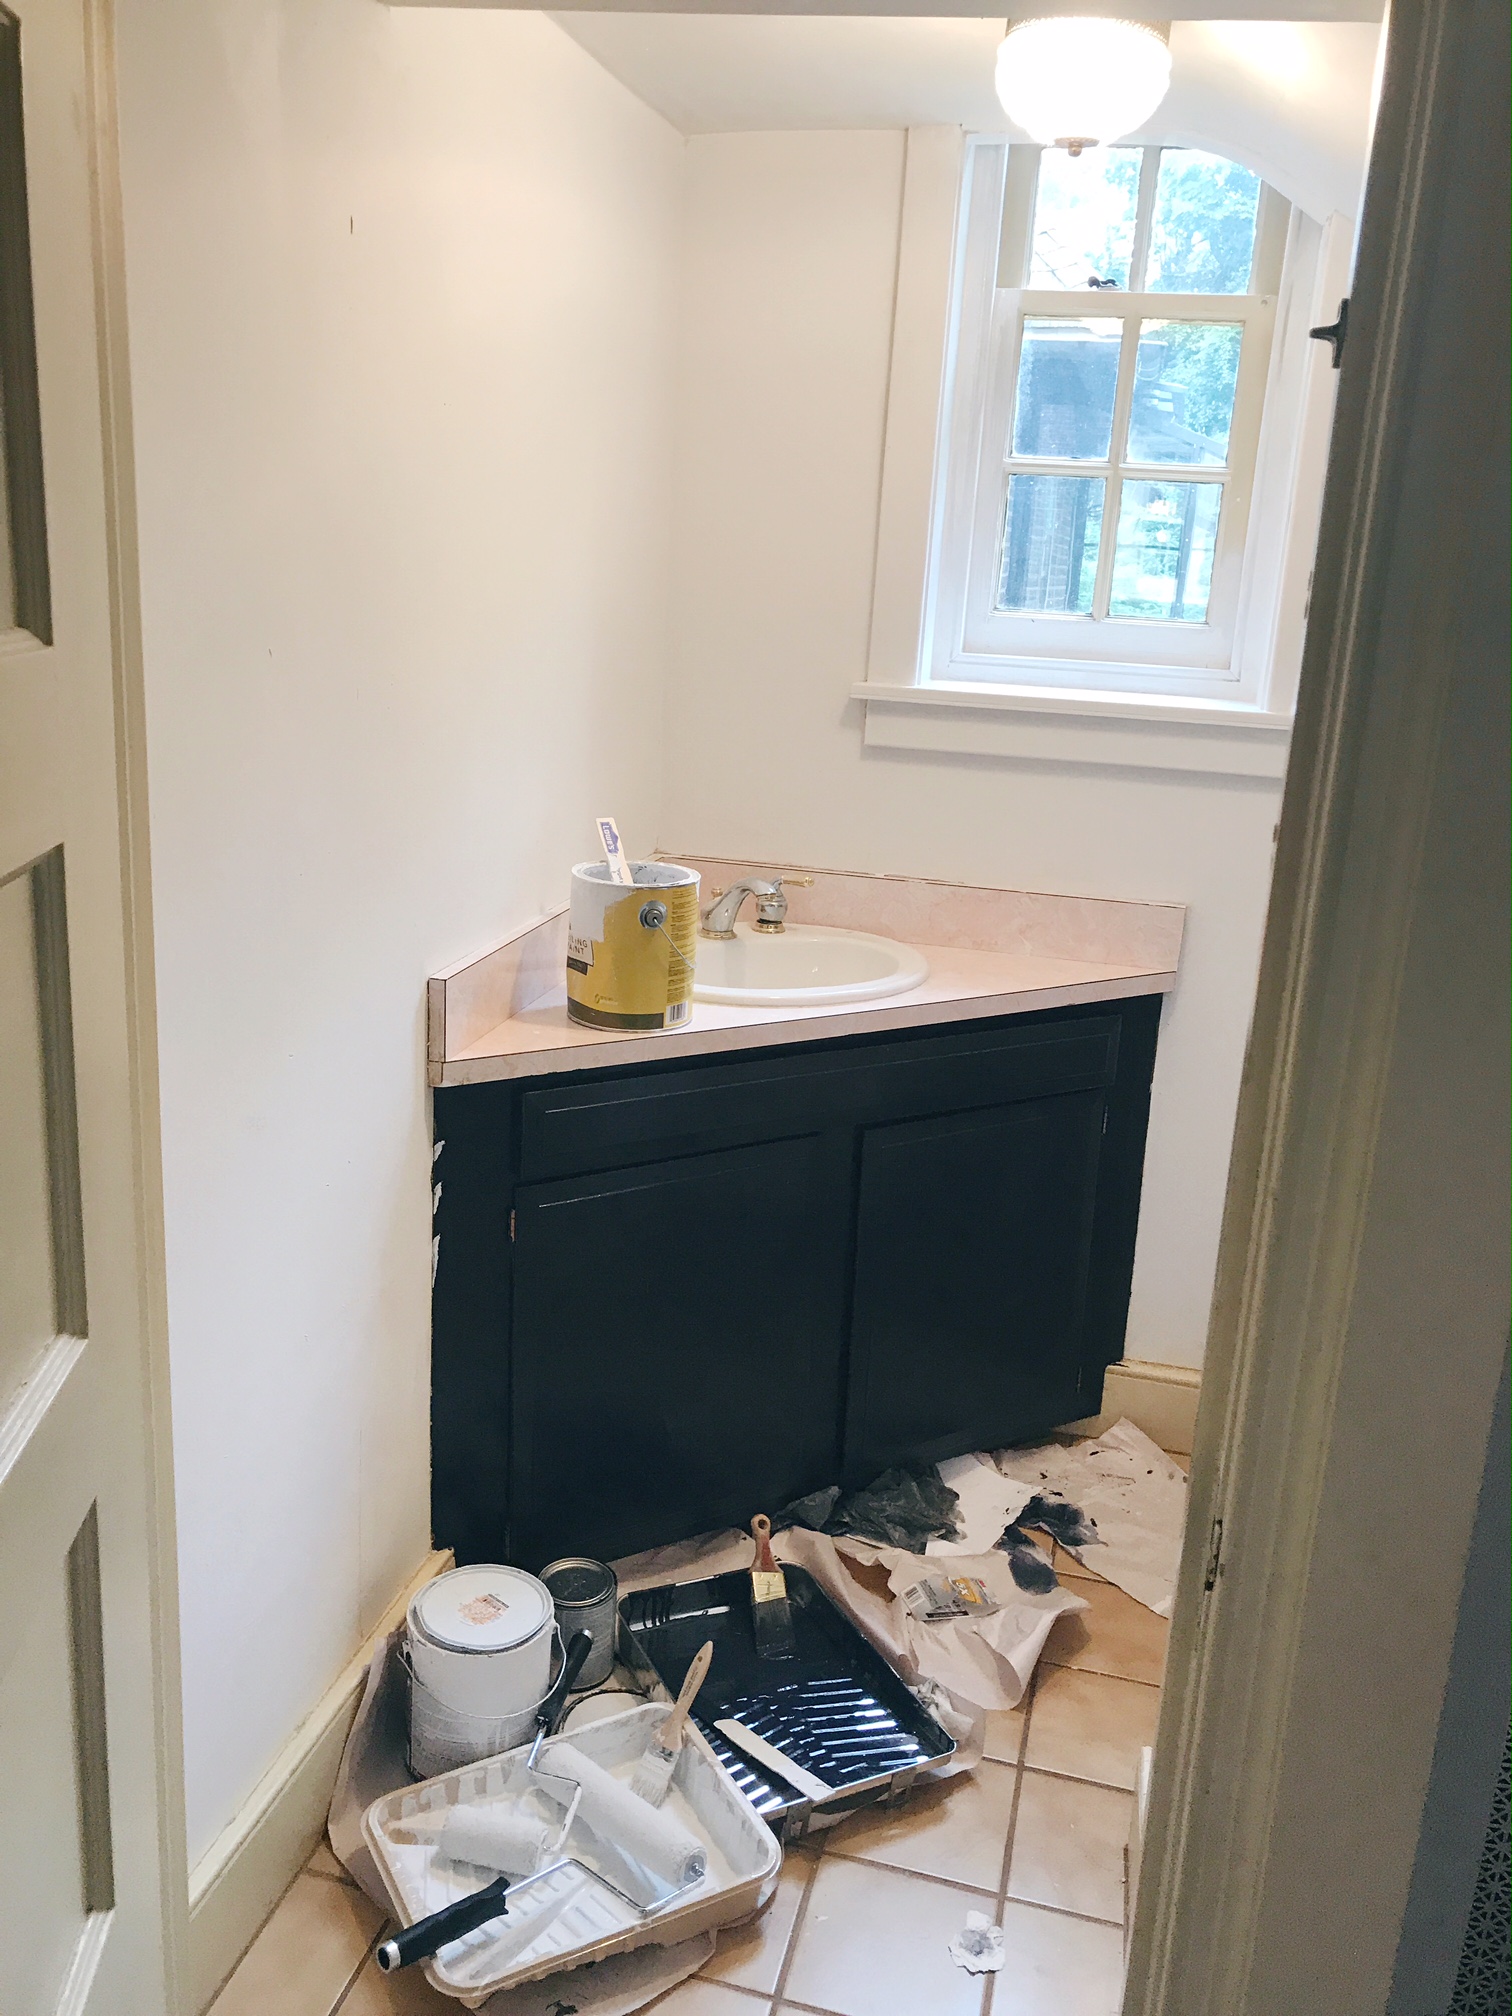
After 2 days of painting, letting the paint dry, completing the vanity, painting the laminate countertop, losing my balance THREE times and using it to steady myself, leaving me with a messed up countertop and a hand that had a layer of sticky white on it that I was unable to remove even with five scrubs with my heavy-duty Sabon body scrub,
I had done it.
My quick fix, inexpensive, lightening, brightening bathroom makeover. And by “I” I obviously mean “we” as my husband helped me a great deal, my daughter painted some inconspicuous areas for me and my son spontaneously ran into the hallway several times to say, “What is that smell? I LOVE that smell!”
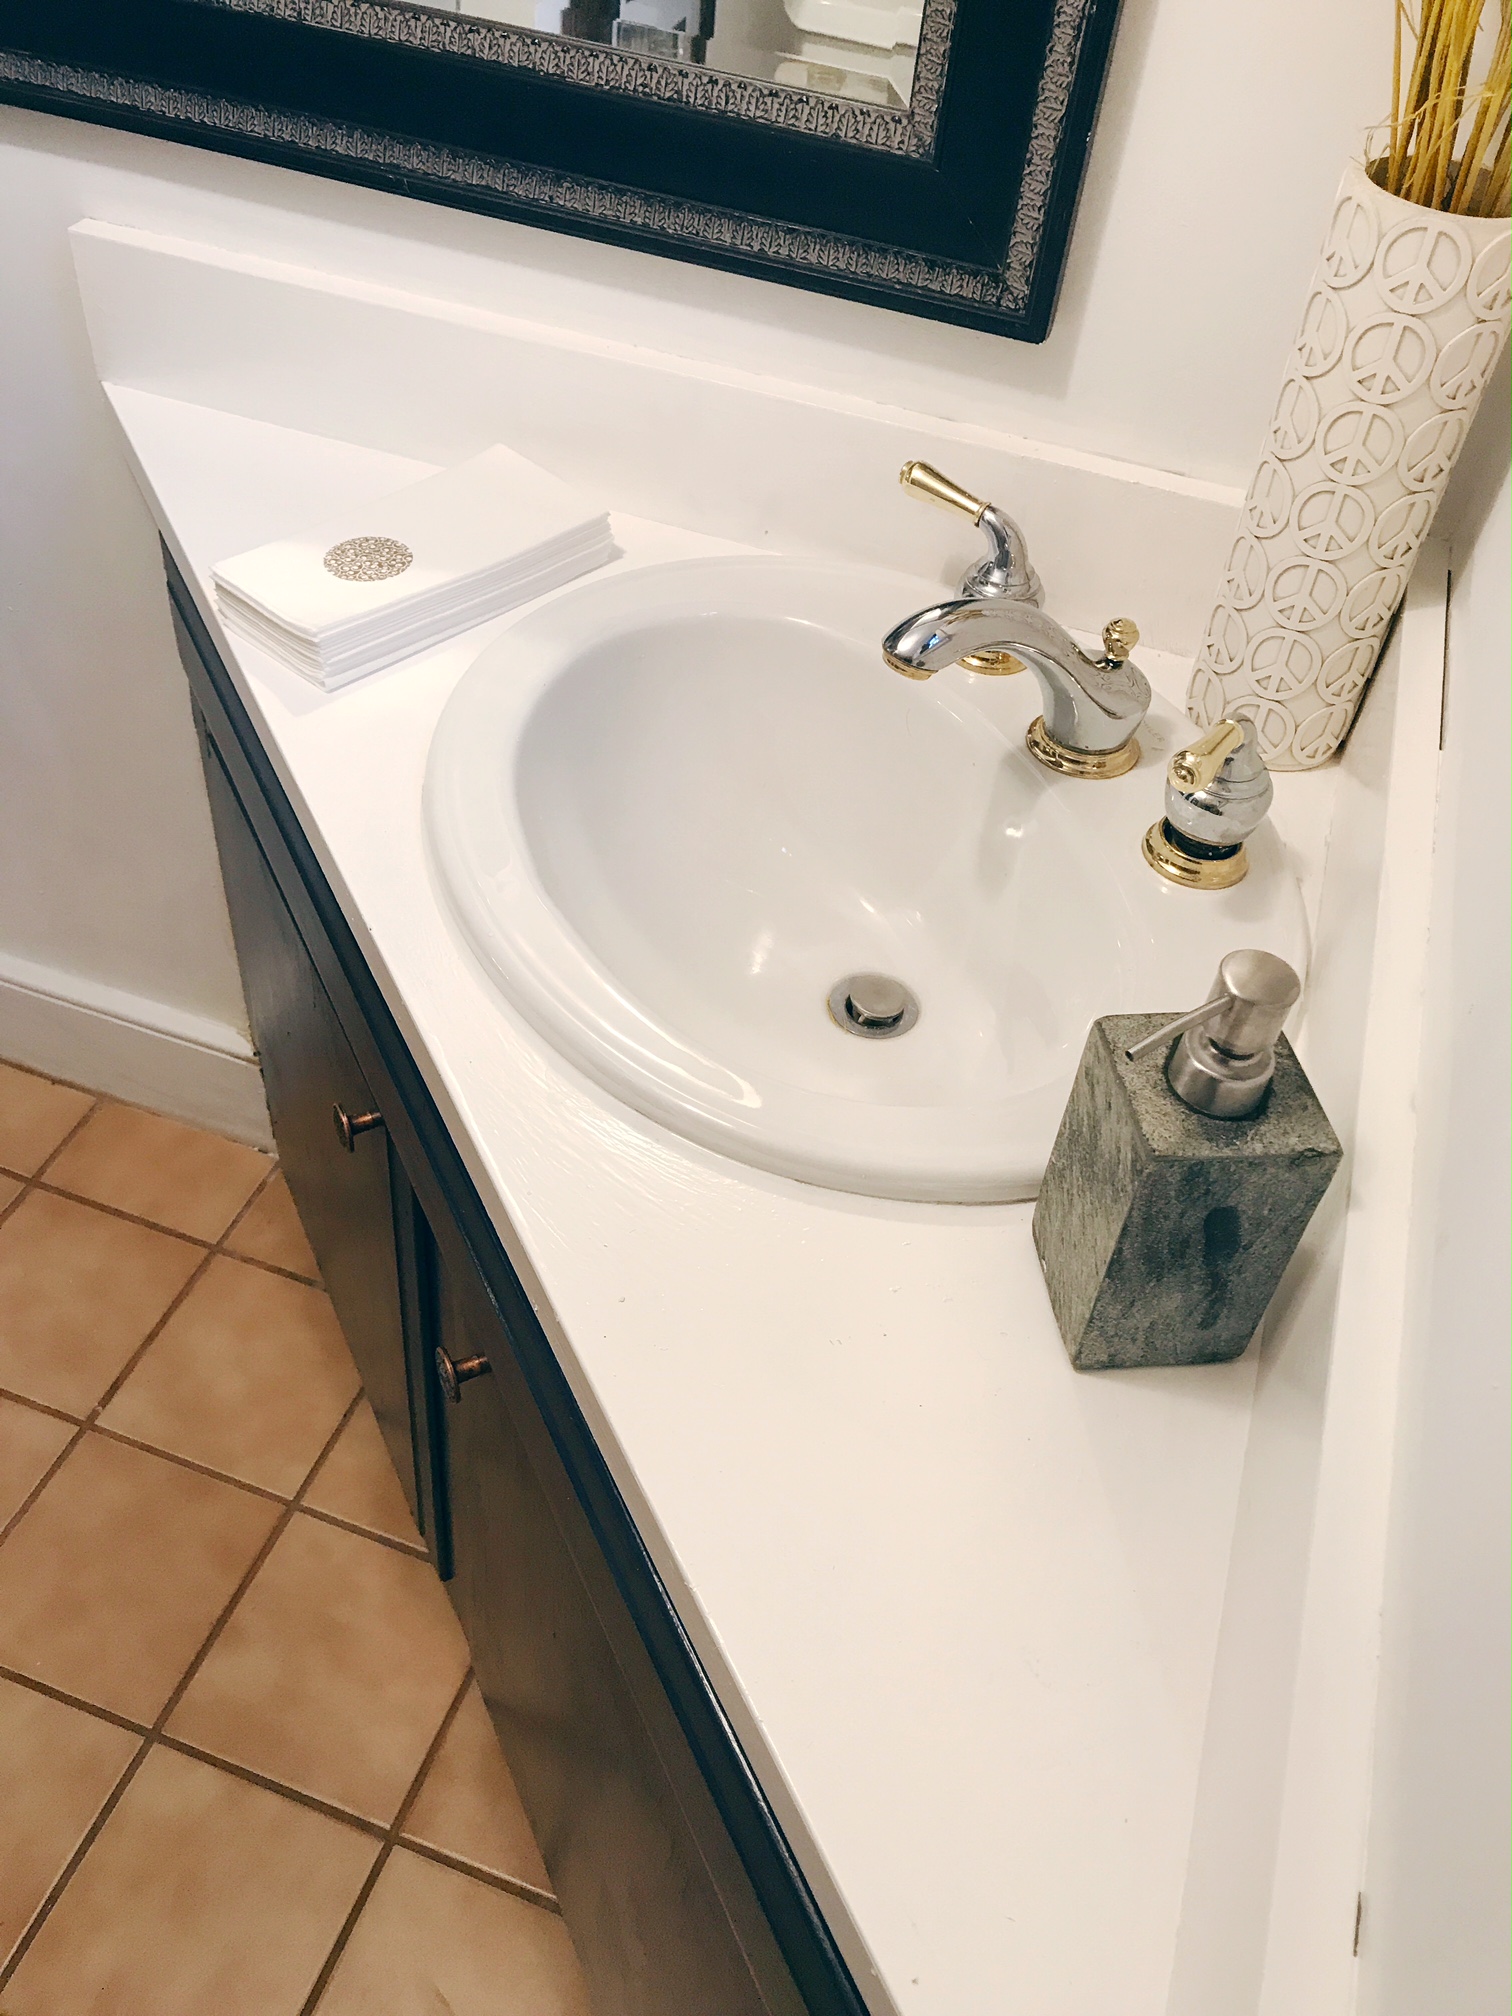
So…from pink/brown/gold/yellow mylar walls with a pink countertop and drab vanity to…
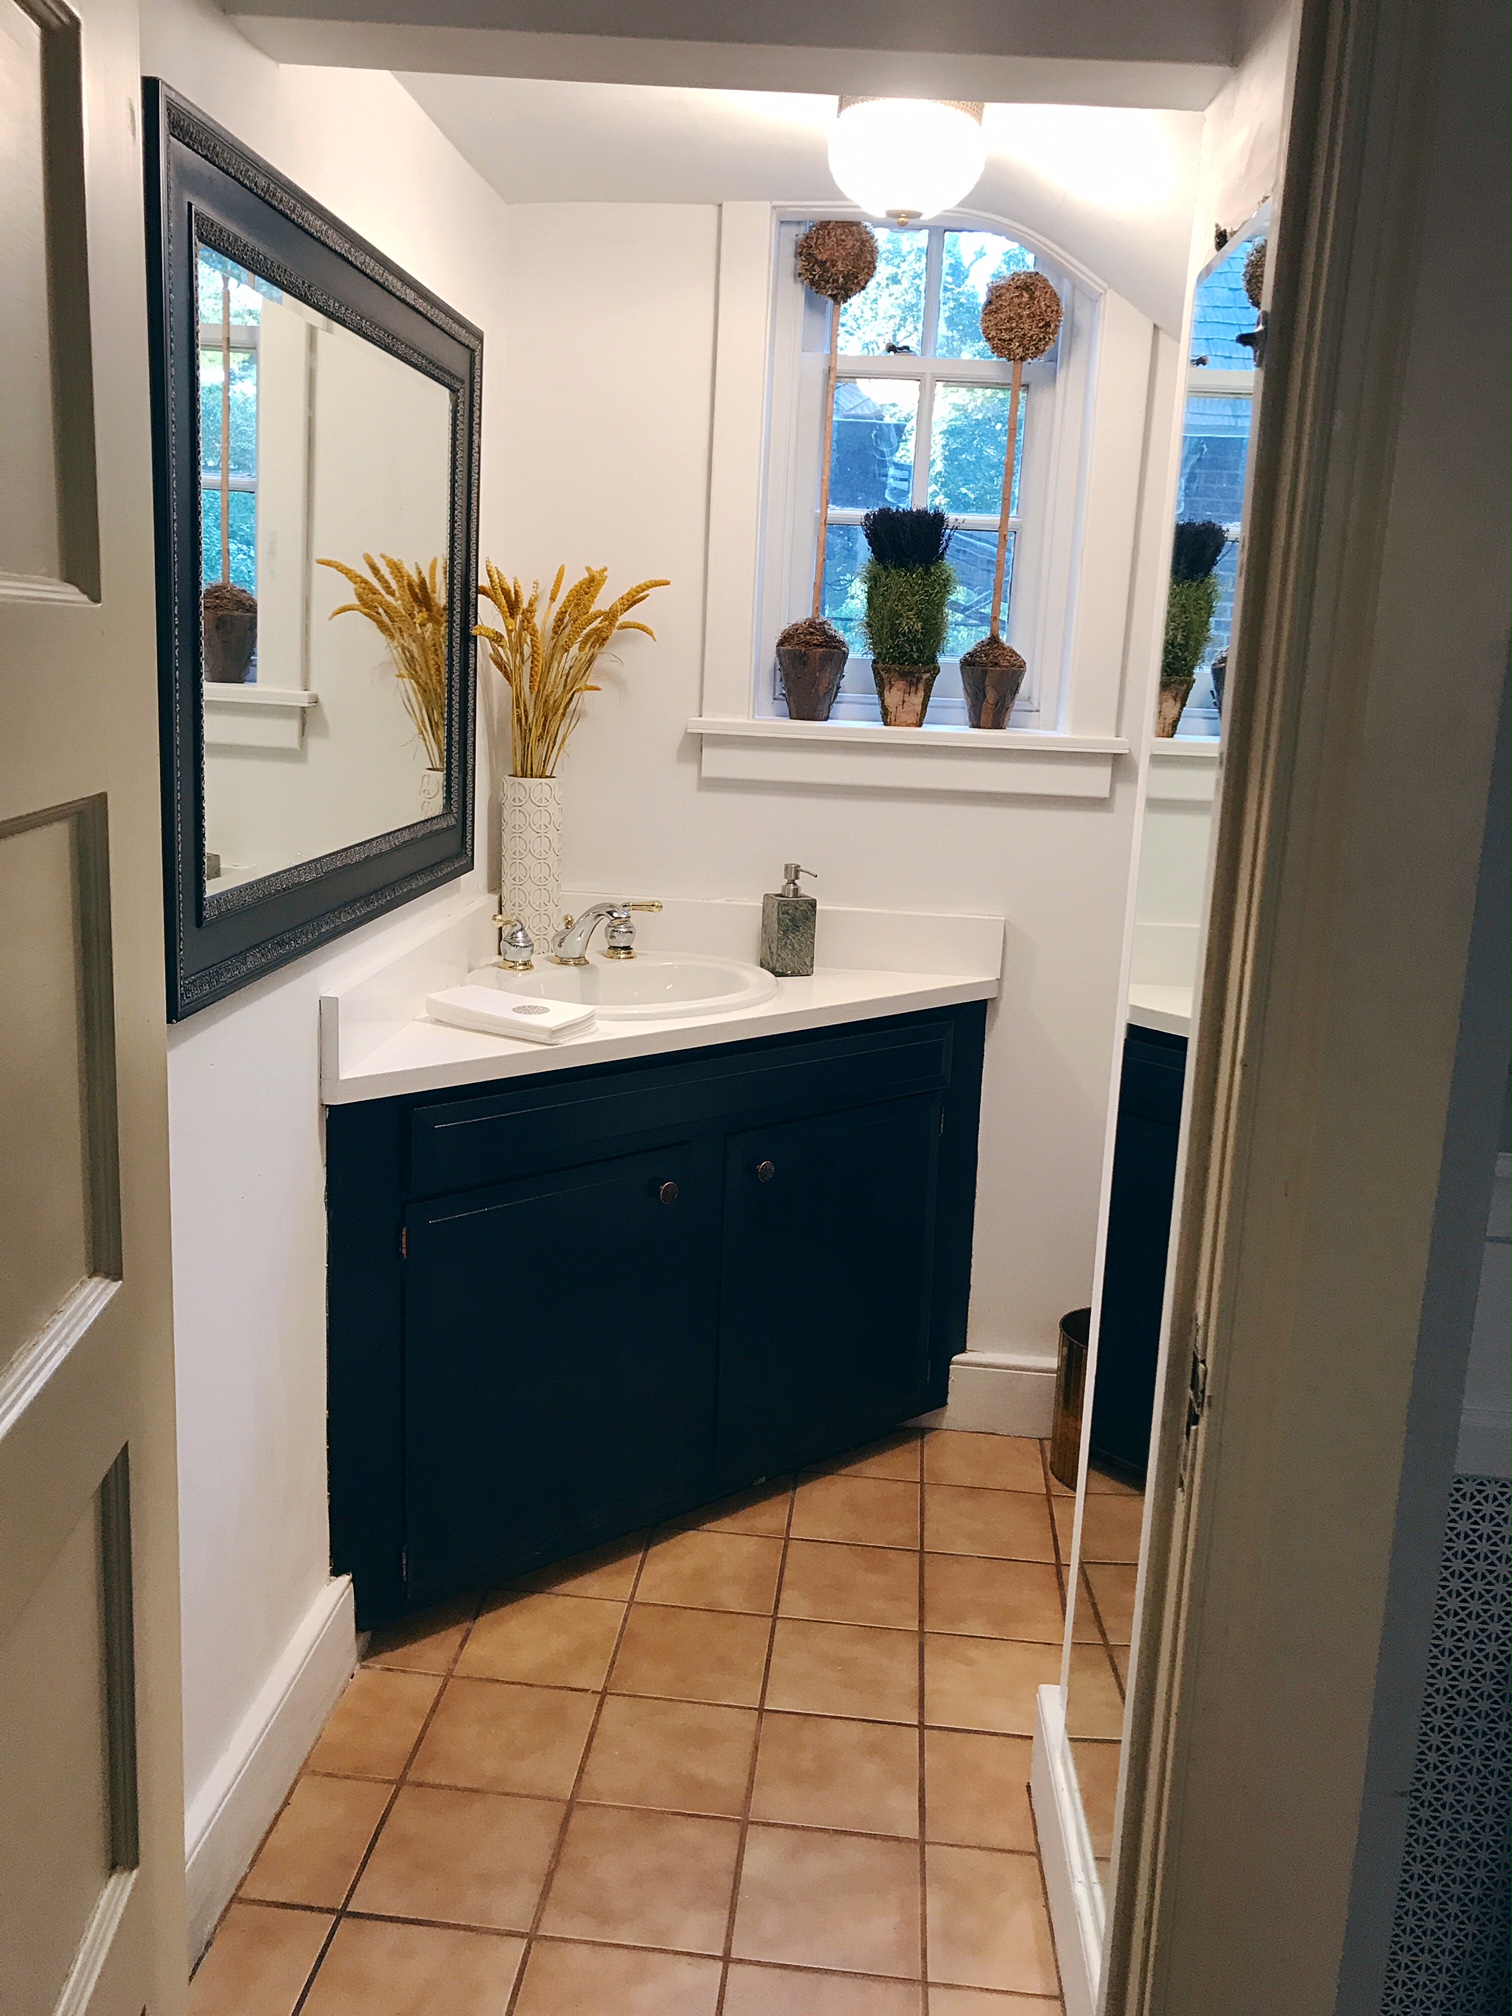
It is decent, right?
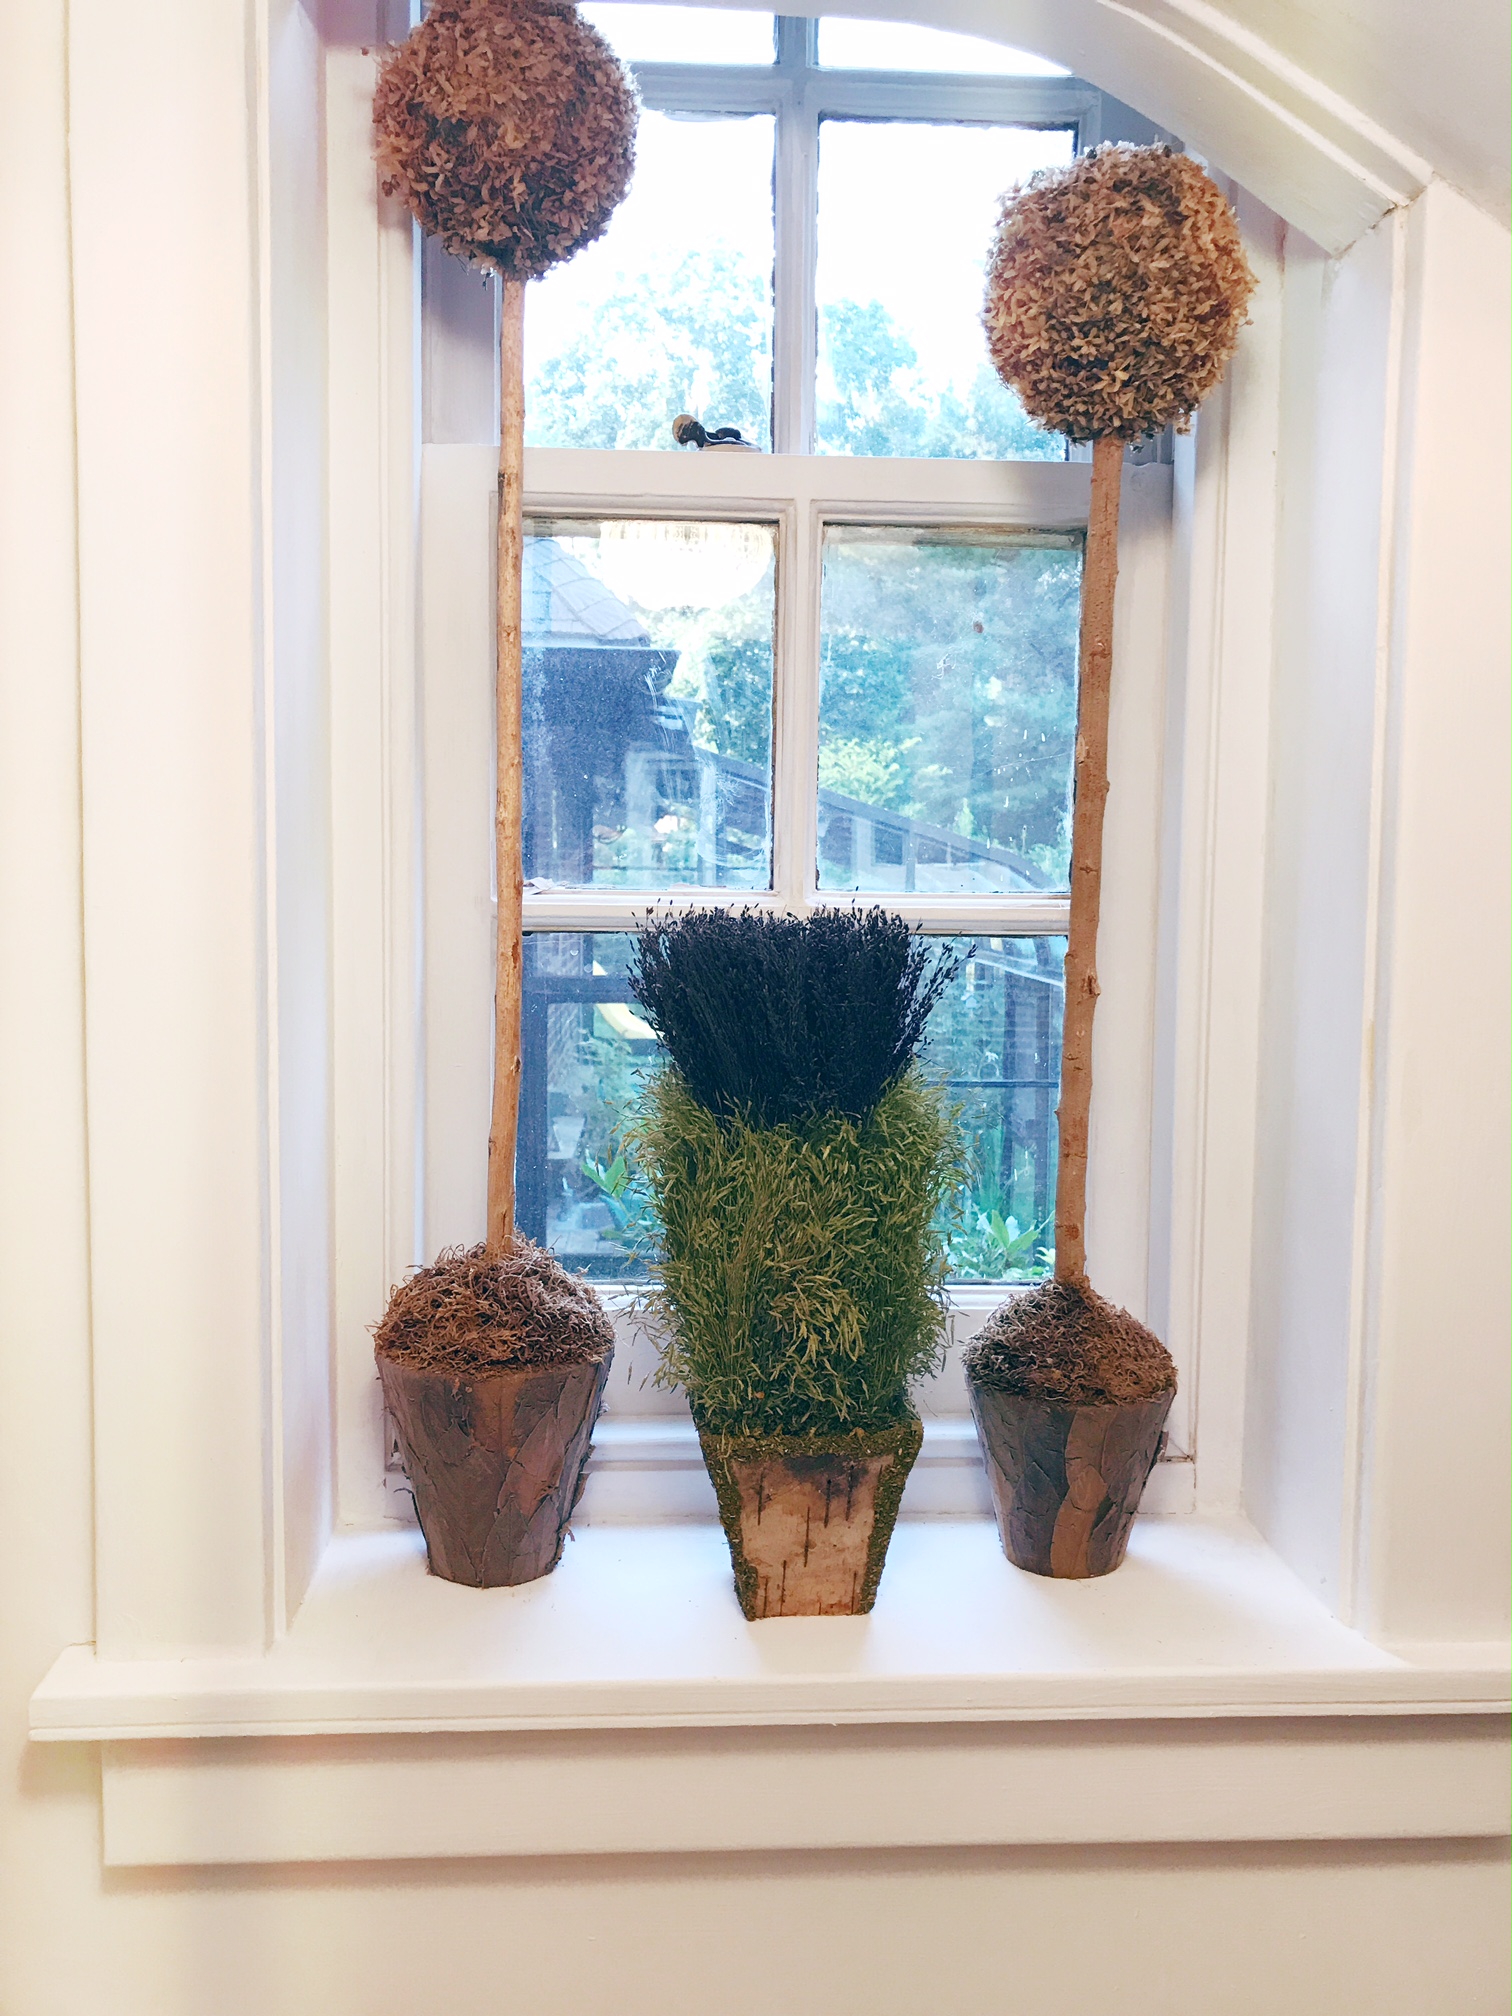
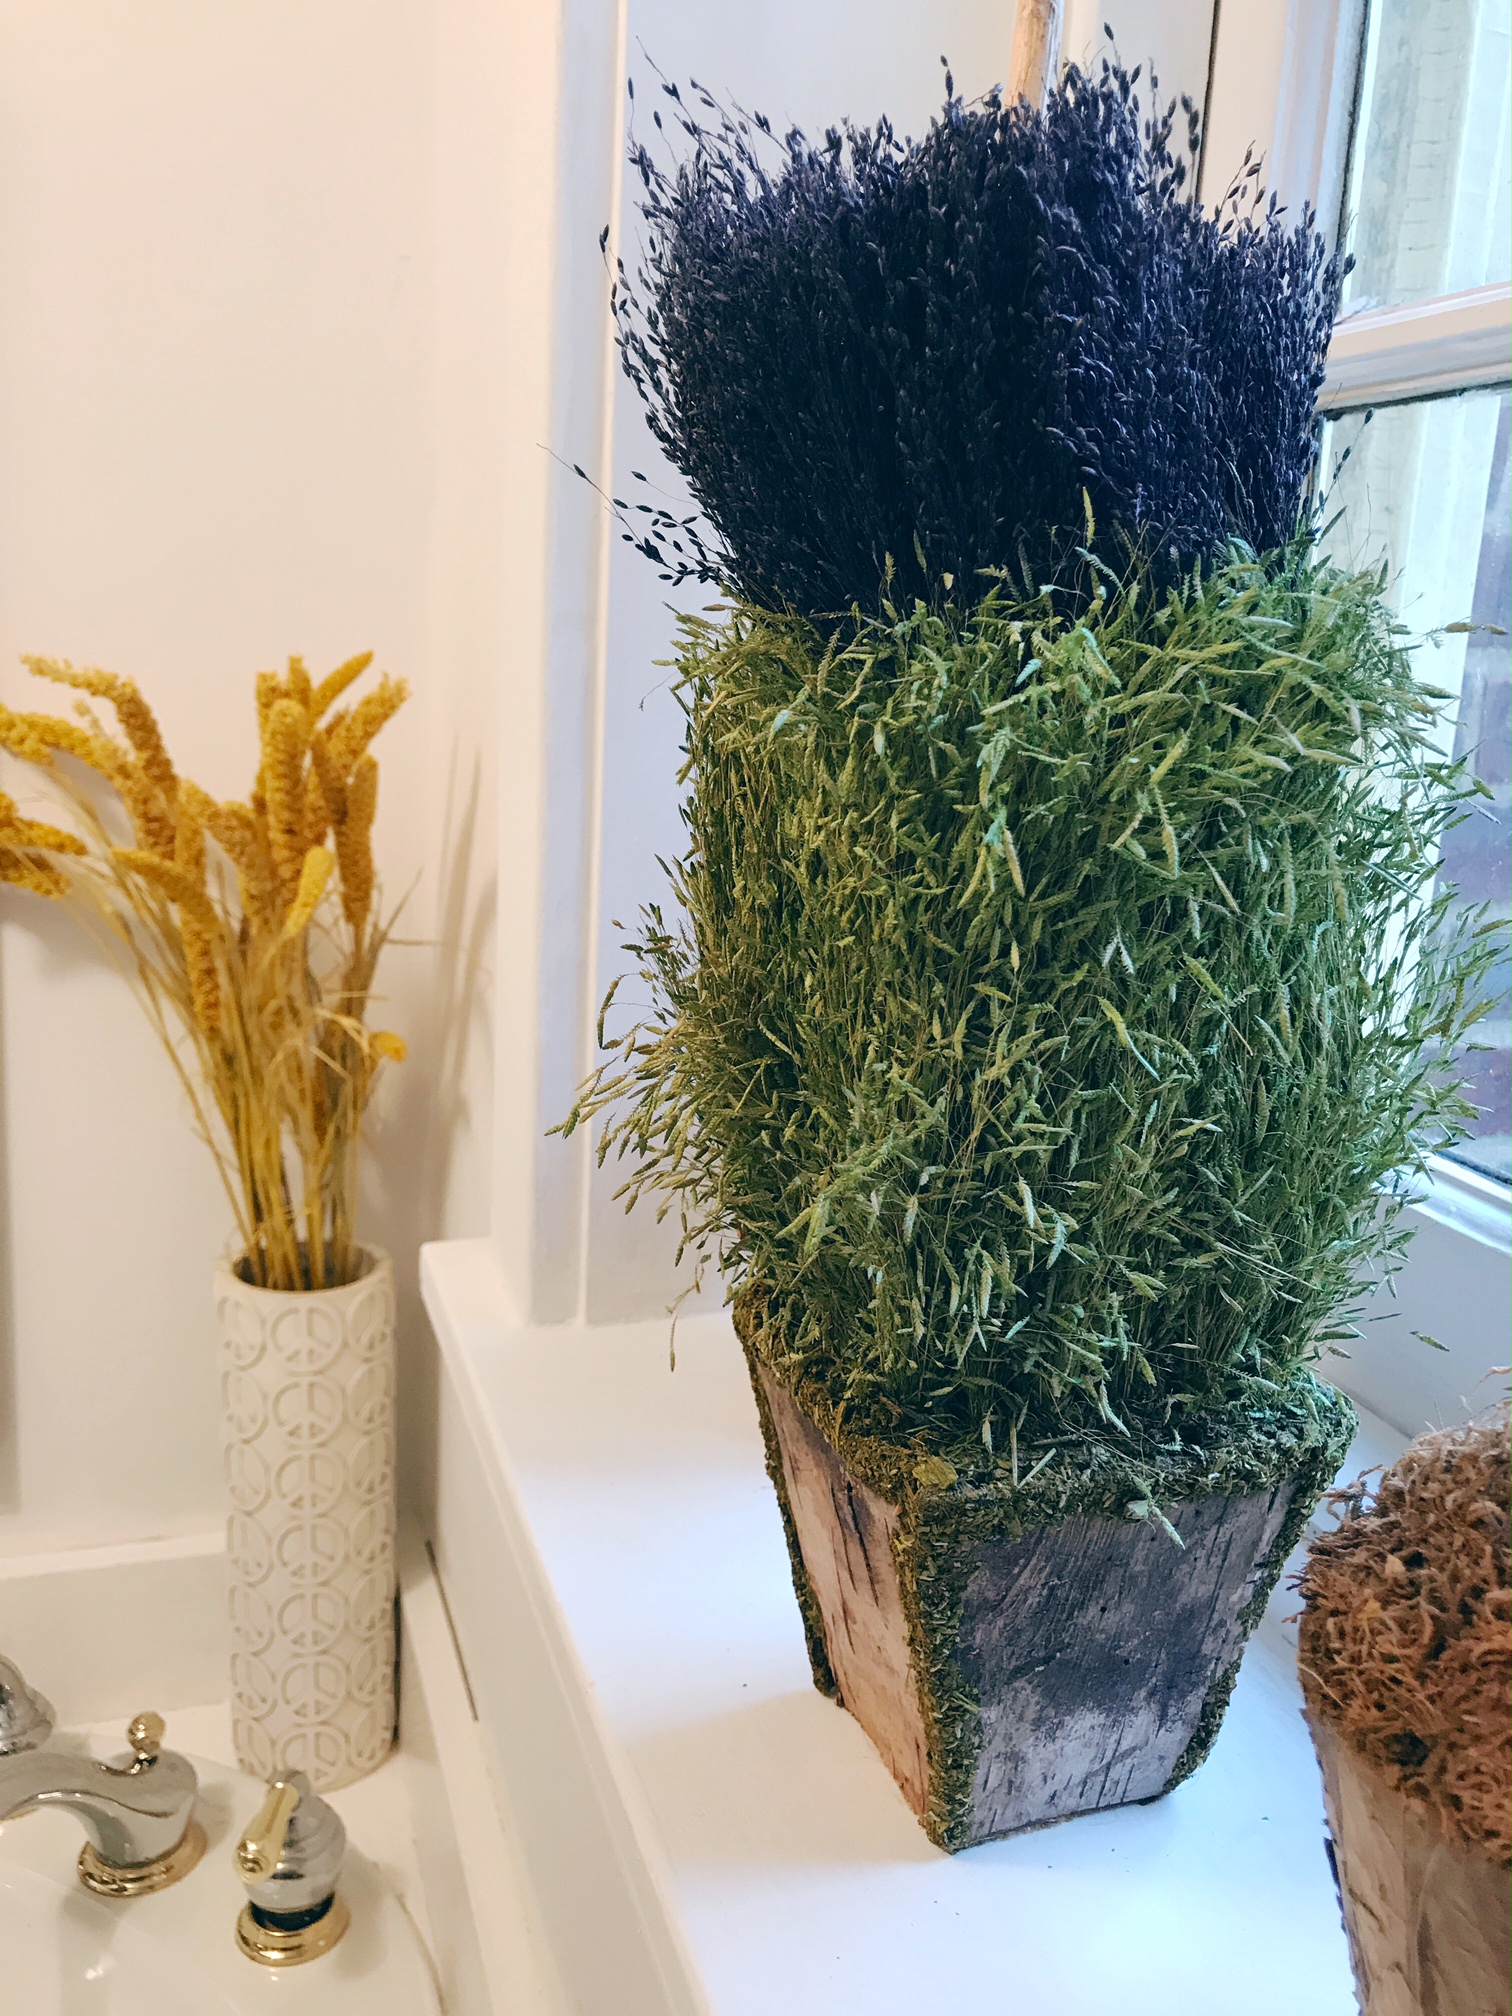
The plant that you see in the center of the windowsill is from the old powder room but it helped to inform my vanity paint color decision as it is a deep indigo blue, and I really think it all ties together nicely. The space seems larger, it is definitely more my style and, most of all, I actually did it without messing up too badly.
Wanna see more? Ok. Twist my arm.


The piece below was very important to me, as it was the centerpiece of my old Powder Room when I was “embracing” the metallic walls, but I cherish it because the photos were taken by my mom, on her iPhone, while she was in Paris. My mom, who can barely take a photo of the four of us posing, managed to create this beautiful art, and so now it was repurposed and I love it. 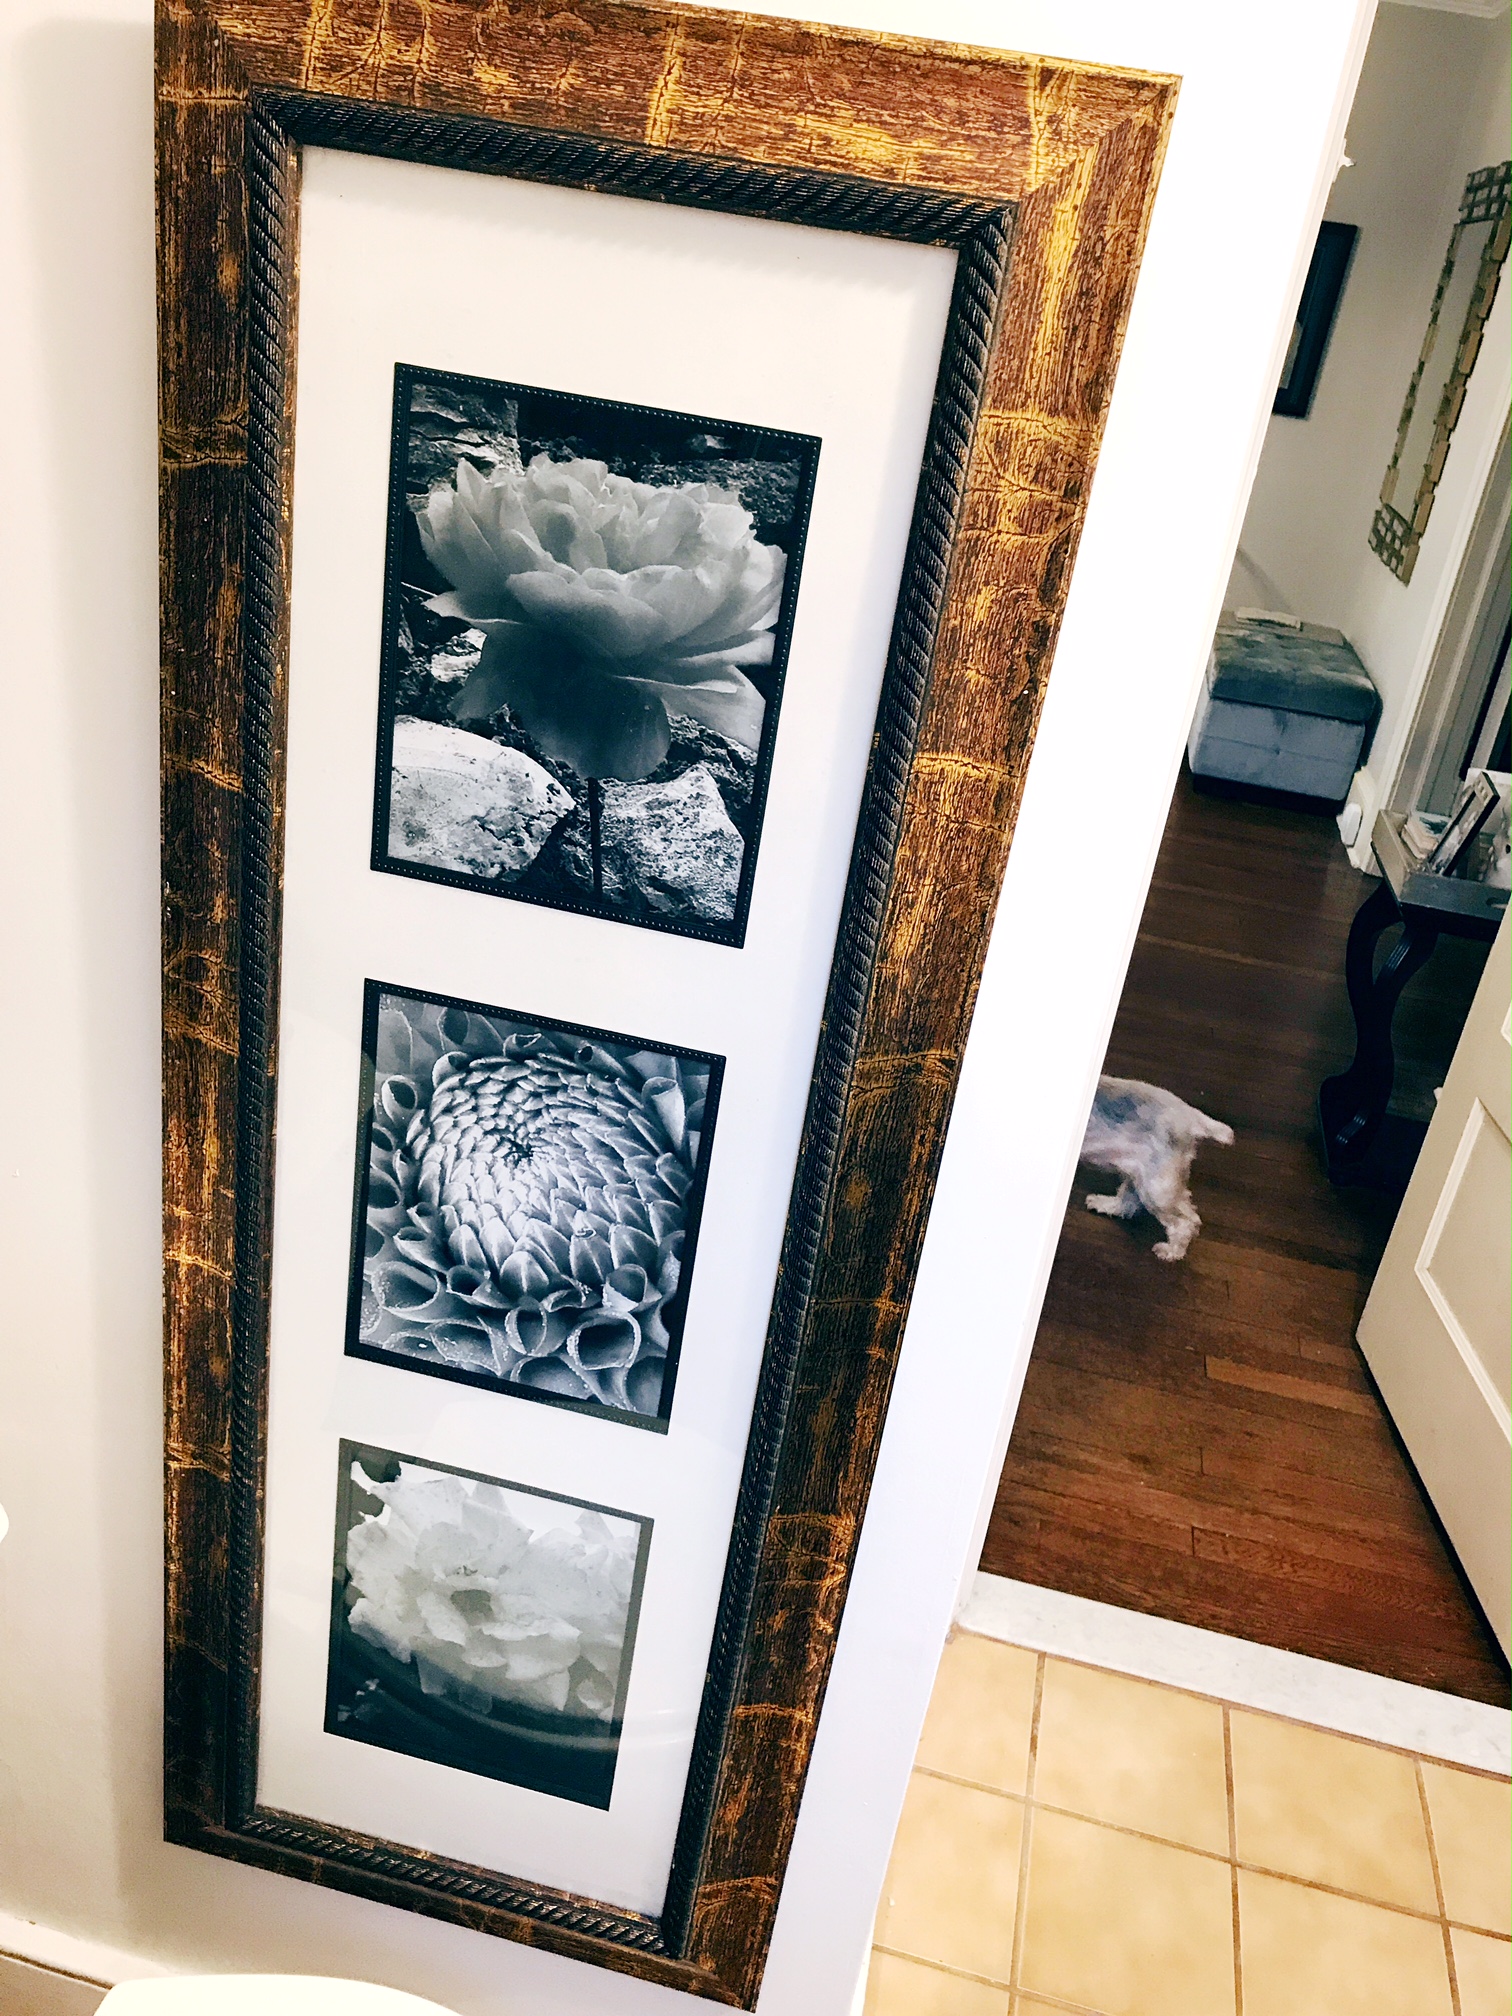 Hi, Lola!
There you have it.
My DIY Powder Room Makeover.
It makes a huge difference. And, if you are lazy like I am and want a quick, inexpensive project, dive right in.
Just make sure that you have plenty of dry shampoo on hand.
And a cool pair of overalls.


![EC251F41-C2D5-4EC9-B5DB-984895D2CA3E[16276]](http://mommyeverafter.com/wp-content/uploads/2020/08/EC251F41-C2D5-4EC9-B5DB-984895D2CA3E16276-300x220.jpg)


Leave a Reply