
Over the past 26 months, there has been a central character in my life story that has not yet been properly introduced.
My home.
I call it my home deliberately, and not just “my house,” as from the moment I walked through the doors and stood in the (then) mustard-yellow entryway, I said, “this is where I am supposed to live.”
It felt like it was meant to be. And, without getting into the whole long story, so much about it was not meant to be on the surface; it was not a good time for us to be buying a house or moving from what we once thought would be our forever home (the home I wrote about so lovingly in the book. AND on a blog offshoot dedicated entirely to the updating of our beloved 511).
But it is on the same street on which my dad grew up; where my beloved Nanny raised her kids; I wanted to raise my kids here, too. And through nothing less than some minor miracles, we made it happen. We moved here in June of 2016 and have been slowly updating things ever since.
I have shared little things here and there, like my DIY powder room update and our huge basement renovation,
(and our house’s constant presence over on my Instagram page), but I have not yet done a whole before and after post. This is, in part, because we are not yet at the “after” stage in most areas, but we have made some updates and since I love to see before and after transformations, I am thinking that, perhaps, you will too!
I am going to start with a few rooms now and then will share the rest later (when I take the right photos or, you know, actually update a space). Speaking of photos, the pictures I am sharing on here are either from the old listing page or from when we originally bought this house (the before) OR from my iPhone (the now). They are not professionally taken, nor are they edited, but a photographer I am not. I hope you do not mind.
With all of the updates that you will see, I had two crucial things in mind:
Budget and Practicality.
For the former, that was an obvious. I wanted to make the biggest splash for the least amount of scratch. In my usual fashion, I sourced products from unusual places, including antique shops, flea markets and vintage stores, as well as sites like PB Teen and Land of Nod, as opposed to their more grown up (ahem, expensive) parent-sites.
And, obvi, Home Goods.
In terms of the latter, by practicality, I mean this in two ways. First, how any changes would impact our current living situation. What will make our lives easier, more enjoyable and allow me to more swiftly hide a kid-related-mess? Second, I wanted to make sure that any changes we made would be ones that would help us to build equity, rather than make the home less appealing to the general population. Please hear me when I say that I absolutely plan for this to be my forever house and if you want to take it from me you are going to have to evict me and I may still try to hide in the secret closet that only I know about, BUT, I wanted to be smart. In an old house with small closets could I open up the wall between the extra bedroom and our master bedroom and make a giant, room-sized closet? Yes! Should I? Probably not.
It has been all about getting creative, and I have been intimately involved in every aspect of this home’s updates. I have literally picked hundreds of individual tiles (and I mean piece by piece), planks of 2 x 4 wood and agonized over carpet samples & paint swatches like I was studying for the Boards.
And I would not have it any other way.
So, without any further “short story long” I now present to you,
This Old House: A Before and After (Part One)
The Entryway:
Before


After
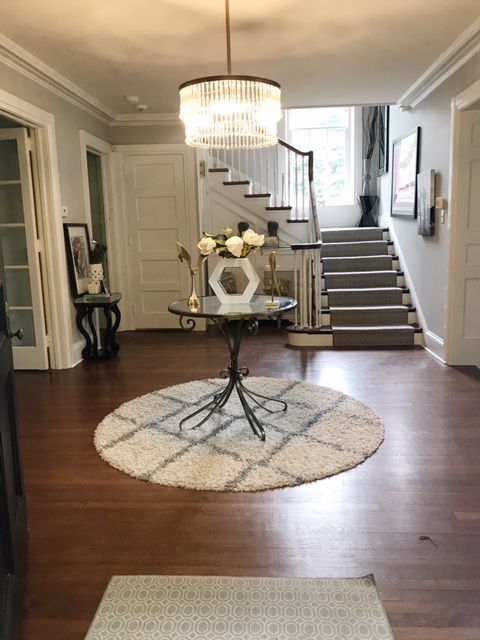
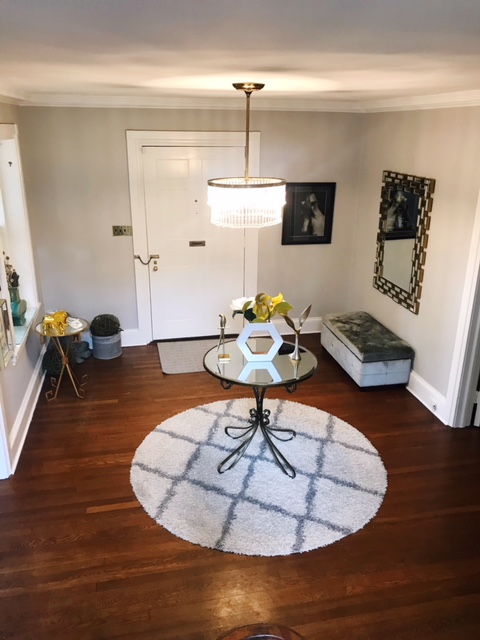
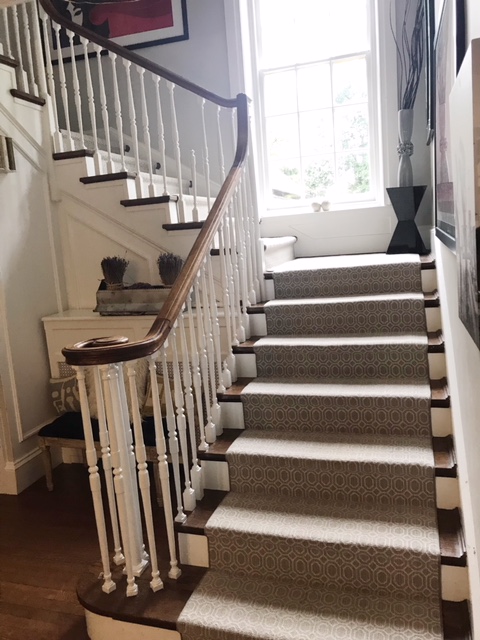
What we did: From settlement, I drove to my new house and immediately took down all of the old window treatments, including the heavy, velvet, burgundy-colored valance that was covering part of my favorite window on our first landing; painted the walls Stonington Gray and the trim all a pure white; replaced the old light fixture with a new transitional chandelier from PB Teen; installed a modern, geometric stairway runner; went from heavy, warm colors to lighter, monochromatic tones (with a sprinkling of metallic, mirrored accents).
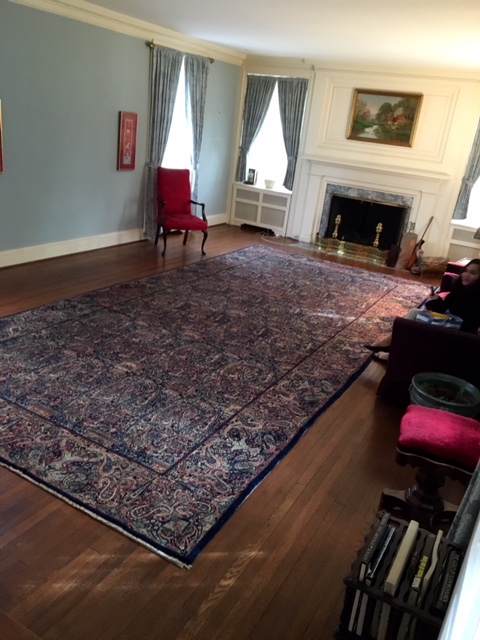
Living Room:
Before

 (the photo below was snapped during a pre-closing visit to the house)
After
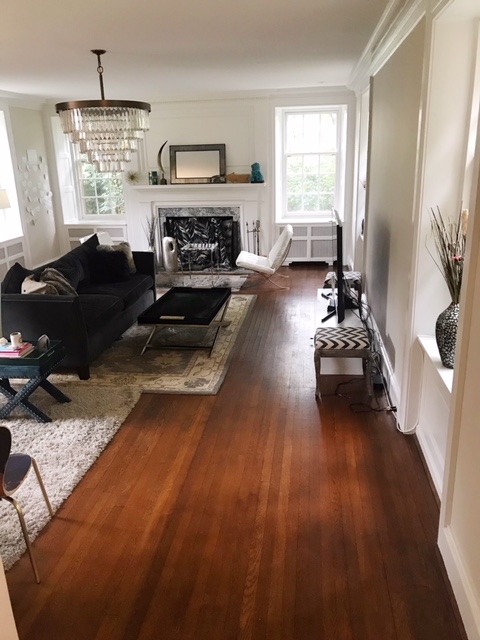
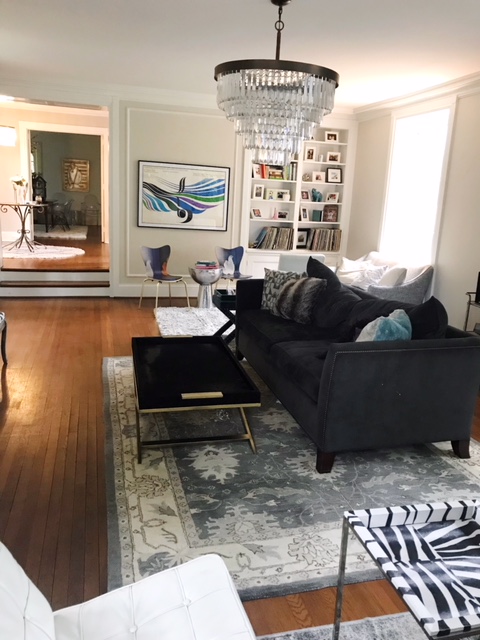
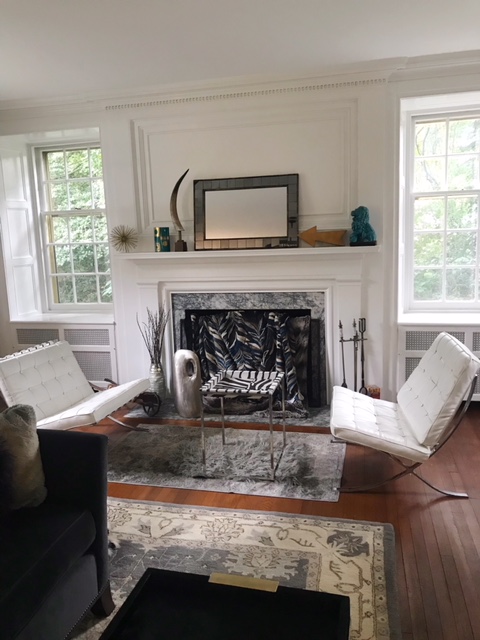
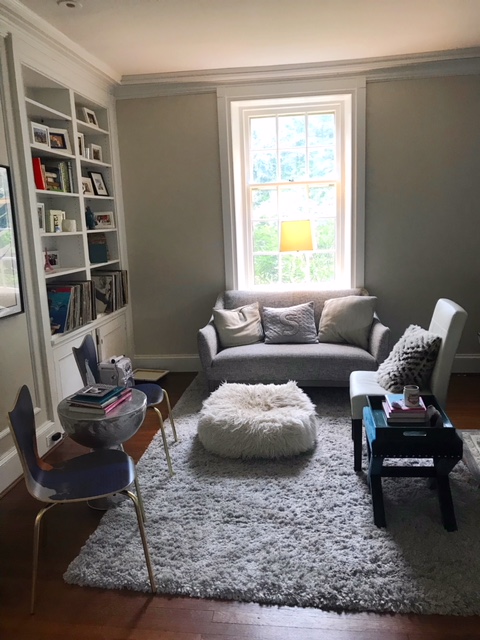
What we did: Our living room has been a tricky space to tackle in terms of space planning and flow. It is a really large room and we wanted it to be practical, inviting, comfortable (as, for a while, it was the only room in the house with a tv), and allow for entertaining (and dance parties). Ultimately, we created three separate seating areas: Barcelona chairs by the fireplace, our comfy couch (covered in faux fur things) to watch tv, a seating area by the bookshelf/record player/records. We have played musical chairs (ha!) with the seats in the loveseat area, and just yesterday we swapped out a modern, leather chair and ottoman (now in the den) for these single chairs; painted the room from blue to Pale Oak (a warm off-white verging on greige); installed that enormous chandelier which is, quite possibly, the largest light fixture ever (as before its installation there were no lights in the room at all. There was not even a light switch.); it is now a much quieter room, decorated in shades of gray, white, black and blue, just the way I like it.
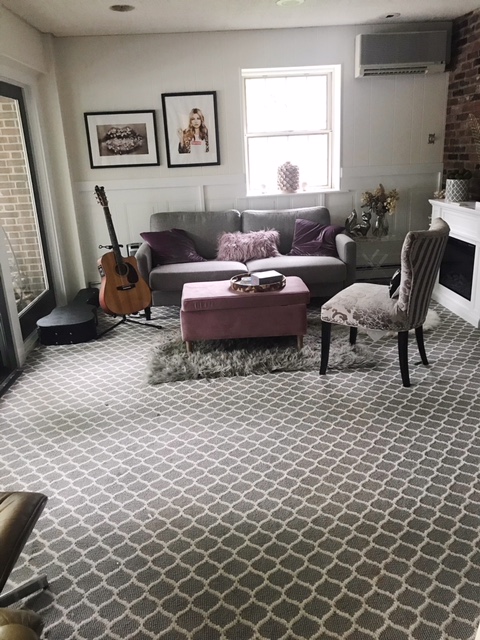
Den:
Before


After
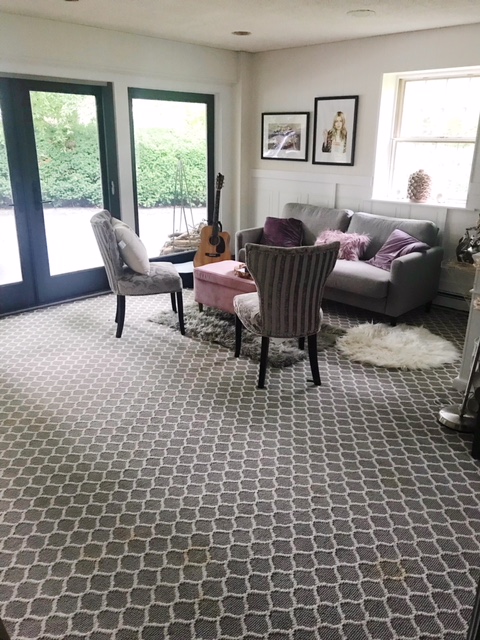
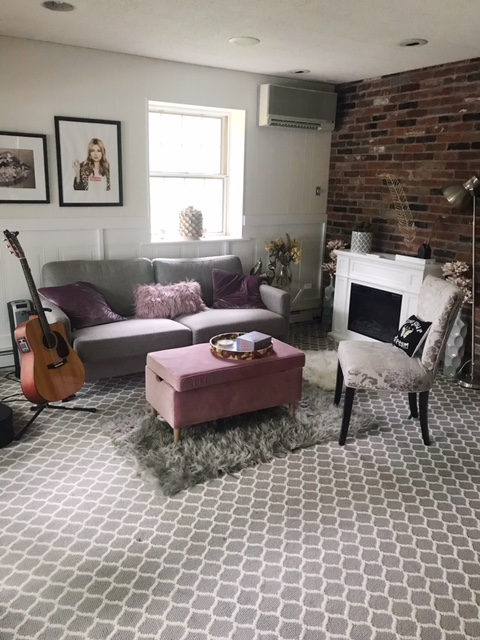
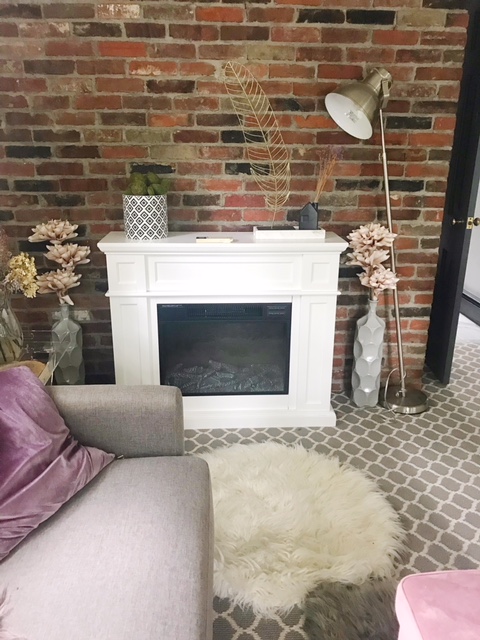
What we did: ALLTHETHINGS. Covered the old, dark wood paneling with White Dove, pre-made wainscoting painted Super White, and trim in Graphite; replaced the carpet; installed an electric fireplace (which I may or may not be sitting next to at this very moment as I type); added textures and layers with shaggy rugs, velvet pillows in shades of orchid & blush, and different seating areas; added artwork that is, while perhaps unconventional for a “family home,” so up my alley; CONNECTED THIS TO OUR MAIN HOUSE (as, prior to this, our den had served as a two story finished garage/office space with a full bedroom and full bathroom, and could be accessed by a breezeway outside our back door). In the next installment of a Before and After post I will show you the bathroom in here, as it has both lizard AND lips wallpapers and is pretty dope. Stay tuned…
Back (interior) Entrance:
Before
{Crickets}
After
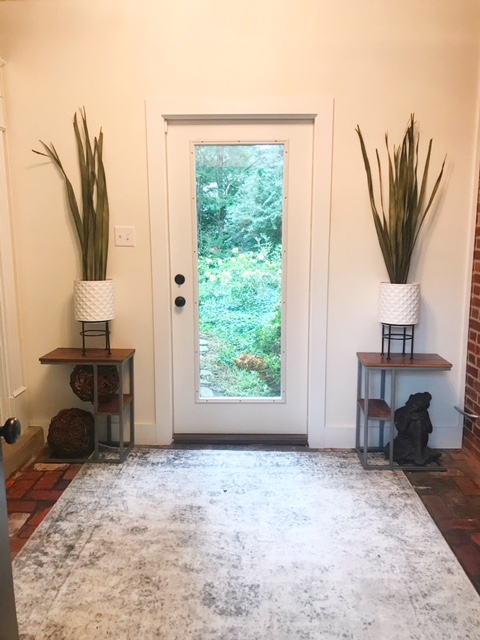
What we did: Let me explain. This did not exist until this spring. This was part of the outdoor breezeway connecting our house to the “guest house/converted garage/former office” and had a yellow-painted roof but was otherwise outside. We enclosed this space, leaving the areas of exposed brick, and now it is everything to us. We removed all of the doors (our back door, the door to the kitchen, the door to what is now the den); enclosed the space; painted the interior White Dove; installed a back door (painted black, that you can see ever-so-slightly in the lower left hand side of the photo above) and a glass door, directly opposite, for Lola. If you look carefully through the glass you can see a path, and if you were to walk that path, approximately 8 paces, you would get to the greenhouse. From the entry way’s threshold, if you were to look right, you’d be in our new “mudroom” area, with storage, a washer/dryer and the opening to our kitchen (the washer/dryer was there, previously, but it was much less practical as it was essentially part of our small, back entrance, which made it, kind of, outside). If you were to look left, you’d be in the den. Got it? Good! If not, come on over and I’ll give you a tour. Speaking of a tour, I will show you a photo of how this looks from the outside, but I will need to do so in our next installment (when it is not raining outside, thank you, much!)
I was originally planning on including the Before and After photos of the kids’ rooms, but I think I will save that for Part Two, as I need something to keep you coming back for more and, let me keep it real, I have a challah to bake.
I hope you enjoyed this small part of the house tour.
To this day, every single day, for one reason or another, I stop and think, “I love this house so much. I feel so lucky to be here.”
And, I still feel exactly the way I did when I first walked in, on a cold, snowy, February morning in 2016:
“This is where I am supposed to live.”
See you for Part Two!
xx,
B


Leave a Reply